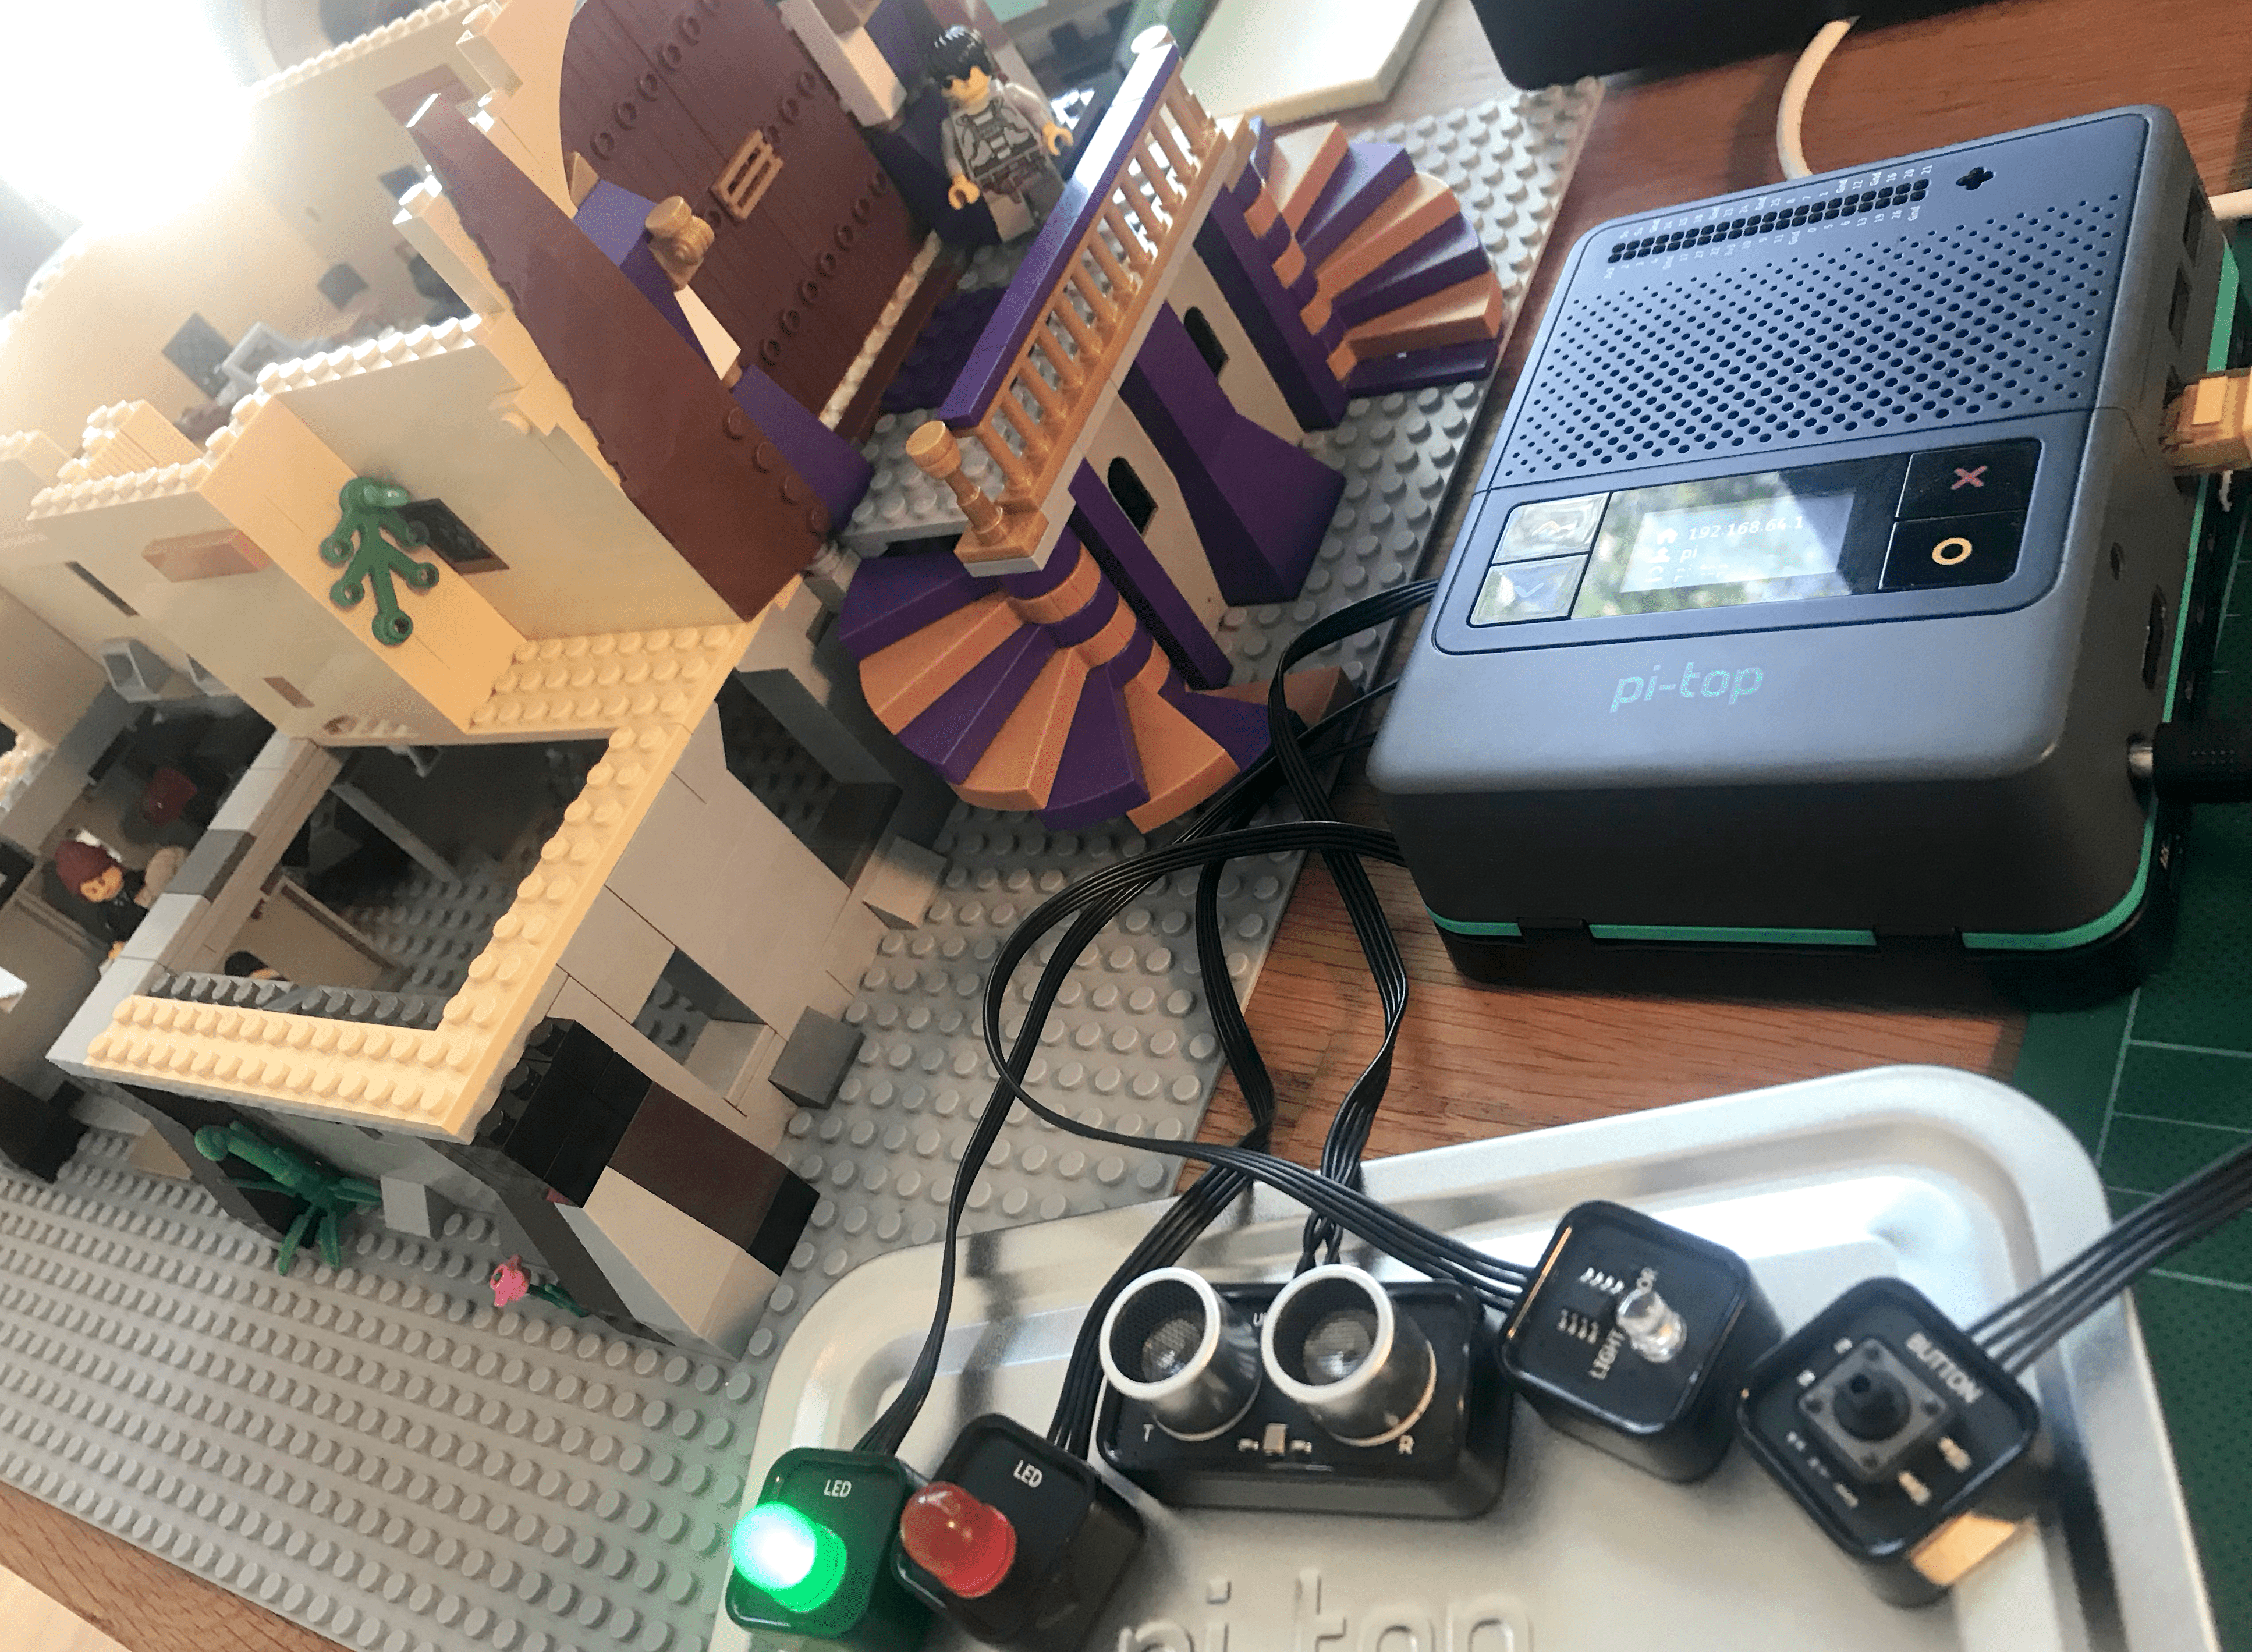
The ancient chest of Anubis is on exhibition for the first time at London’s Museum of Antiquities, and it’s full of just the sort of things The Hooded Paw, the capital’s most notorious cat burglar, would like to steal…
One of the many things I love about pi-top [4] is that it was specifically designed to integrate with other construction products young people are familiar with such as LEGO, Meccano and many others.
To achieve this, we’ve made all the sensors, LEDs and other components that come with the Foundation Kit magnetic, and also included eight LEGO-compatible connectors, so kids (and adults) could attach them to their inventions and iterate their designs quickly and easily.
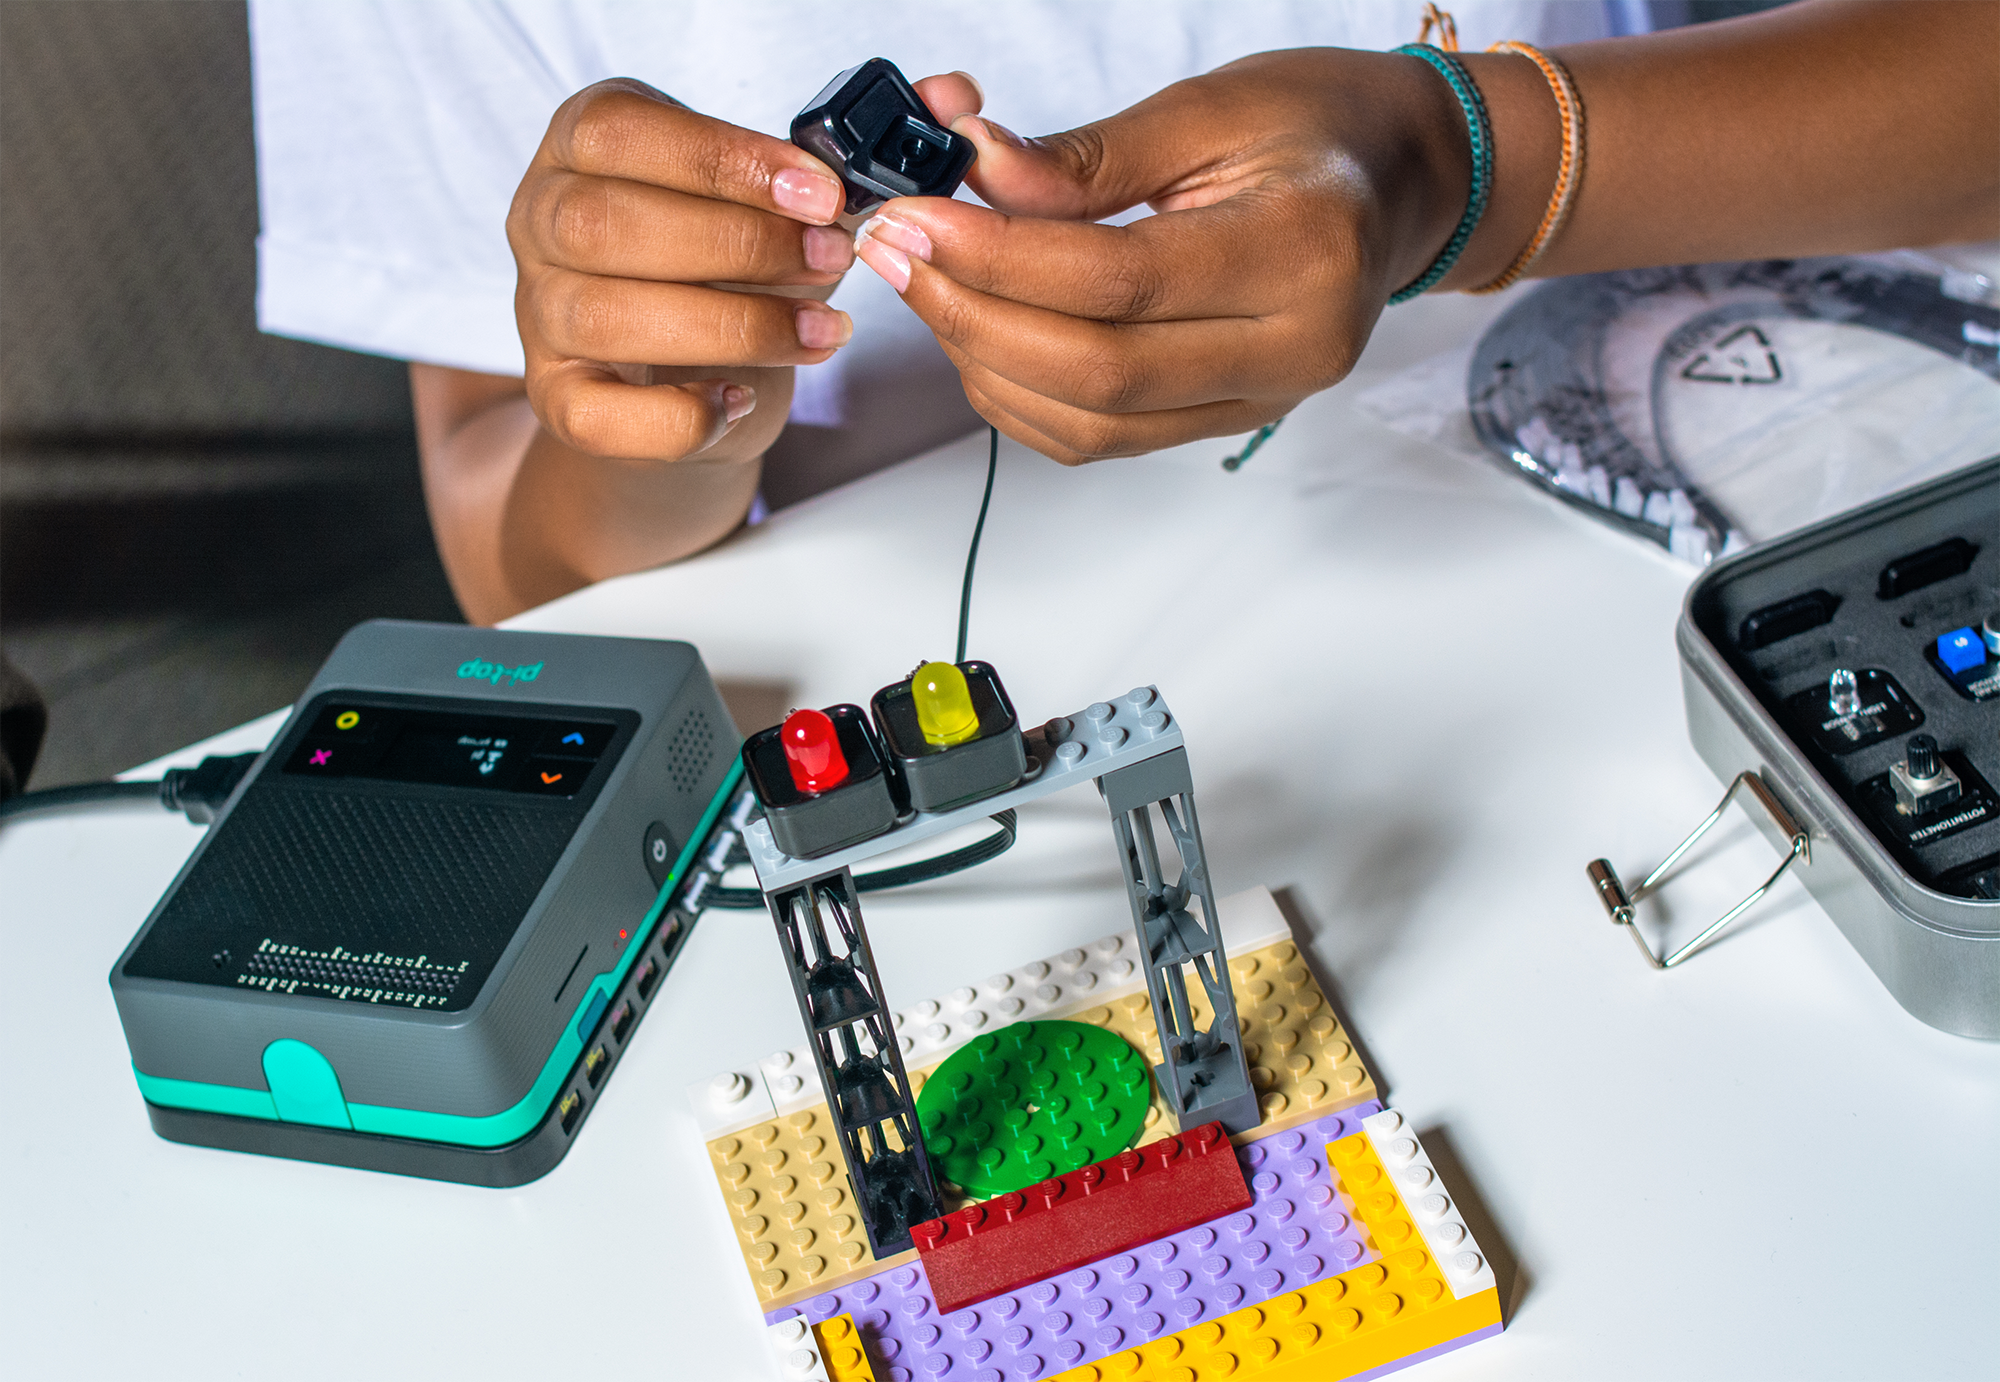
We did this because although we love makerspaces, not everyone has a dedicated space kitted out with CNC machines and 3D printers. Many clubs, groups and classes are held in multipurpose spaces that might be used by lots of different groups throughout the day.
By using familiar construction products, as well as simple materials such as cardboard and plastic, you can establish a maker mentality in any space safely with minimal costs and crucially for teachers, leaders and parents — minimal mess!
Welcome to the Museum of Antiquities
So, with that in mind, I’ve unleashed my inner AFOL (Adult Fan of LEGO) and created The Museum of Antiquities. This challenge uses the pi-top [4] and the Foundation Kit to make several sensors that can detect an intruder.
In this example it’s a museum but could be anything you like; a bank, a vault or even a magical chamber containing secrets! It doesn’t even have to be a room, you could even make a life-size chest, a safe or briefcase with secret compartments. The challenge is an adaption of one found on pi-top Further, our social making platform.
Protecting what’s important
The criminal organizations that attack us are smart. They are organized like a company and employ brilliant people. The only difference is that these people have chosen a ‘different’ career.
Erno Doorenspleet, Executive Security Advisor, IBM Security
The technology used to protect our valuable cultural assets is extraordinary, and real thieves are becoming smarter in their attacks. According to this article by Peter Houlis, the Crown Jewels in the Tower of London are protected by over 100 hidden cameras. The Mona Lisa in the Lourve is also protected by ‘invisible bodyguards’. There’s more on IT and security for Da Vinci’s most famous work in this article by Erno Doorenspleet, Executive Security Advisor, IBM Security Benelux.
Learning to design and make simple physical systems like this helps give children the skills and experience they need for the future and has applications ranging from protecting cultural assets to designing a smart home to making remote bird feeder to help conservation. Children pick a problem and design a solution.
But back to our model museum…
The pressure sensor in the floor
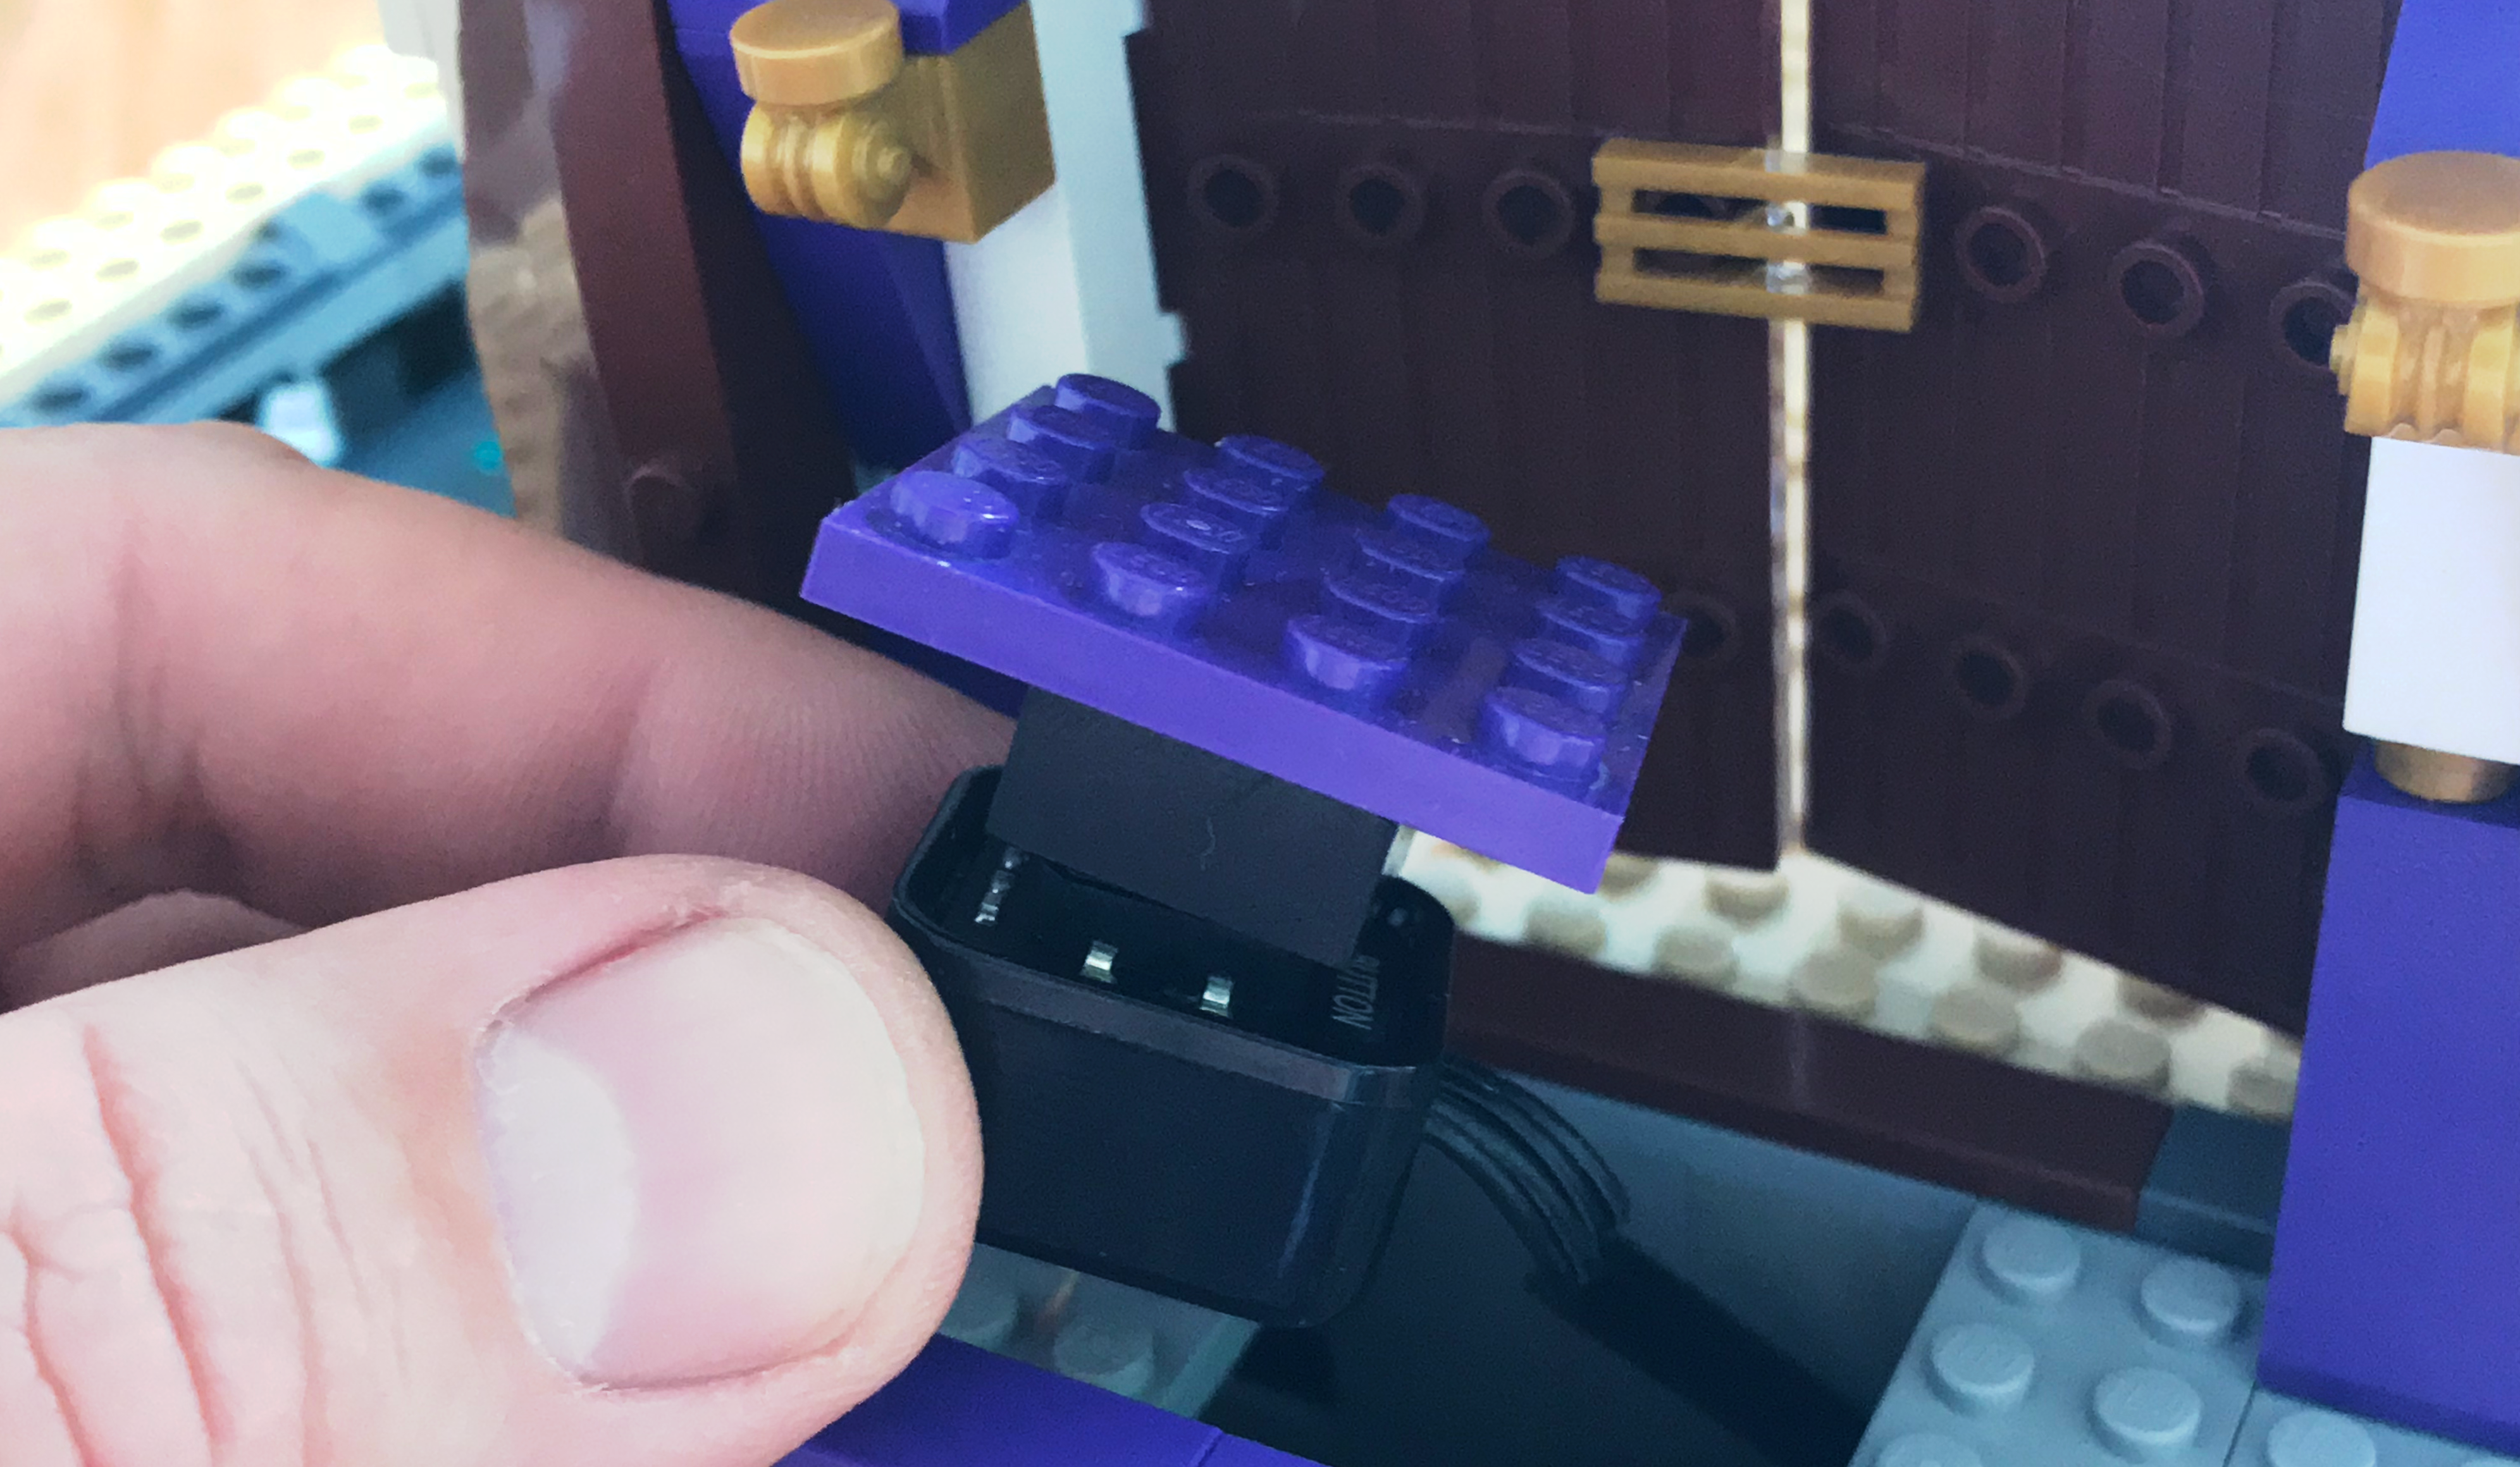
Let’s explore how each of the three security measures in our museum is made. The Foundation Kit comes with two buttons, the top switch of which fits snuggly into any tube found on the underside of a LEGO brick. In my experiments, it tends to get a better purchase with full height bricks such as a 2x2 (part 3003) rather than a flat one.
To make the pressure sensing floor pad I’ve had to raise the level of the floor to fit the button underneath, this also meant I had space to integrate the pi-top [4] in the ‘basement’ of the museum too.
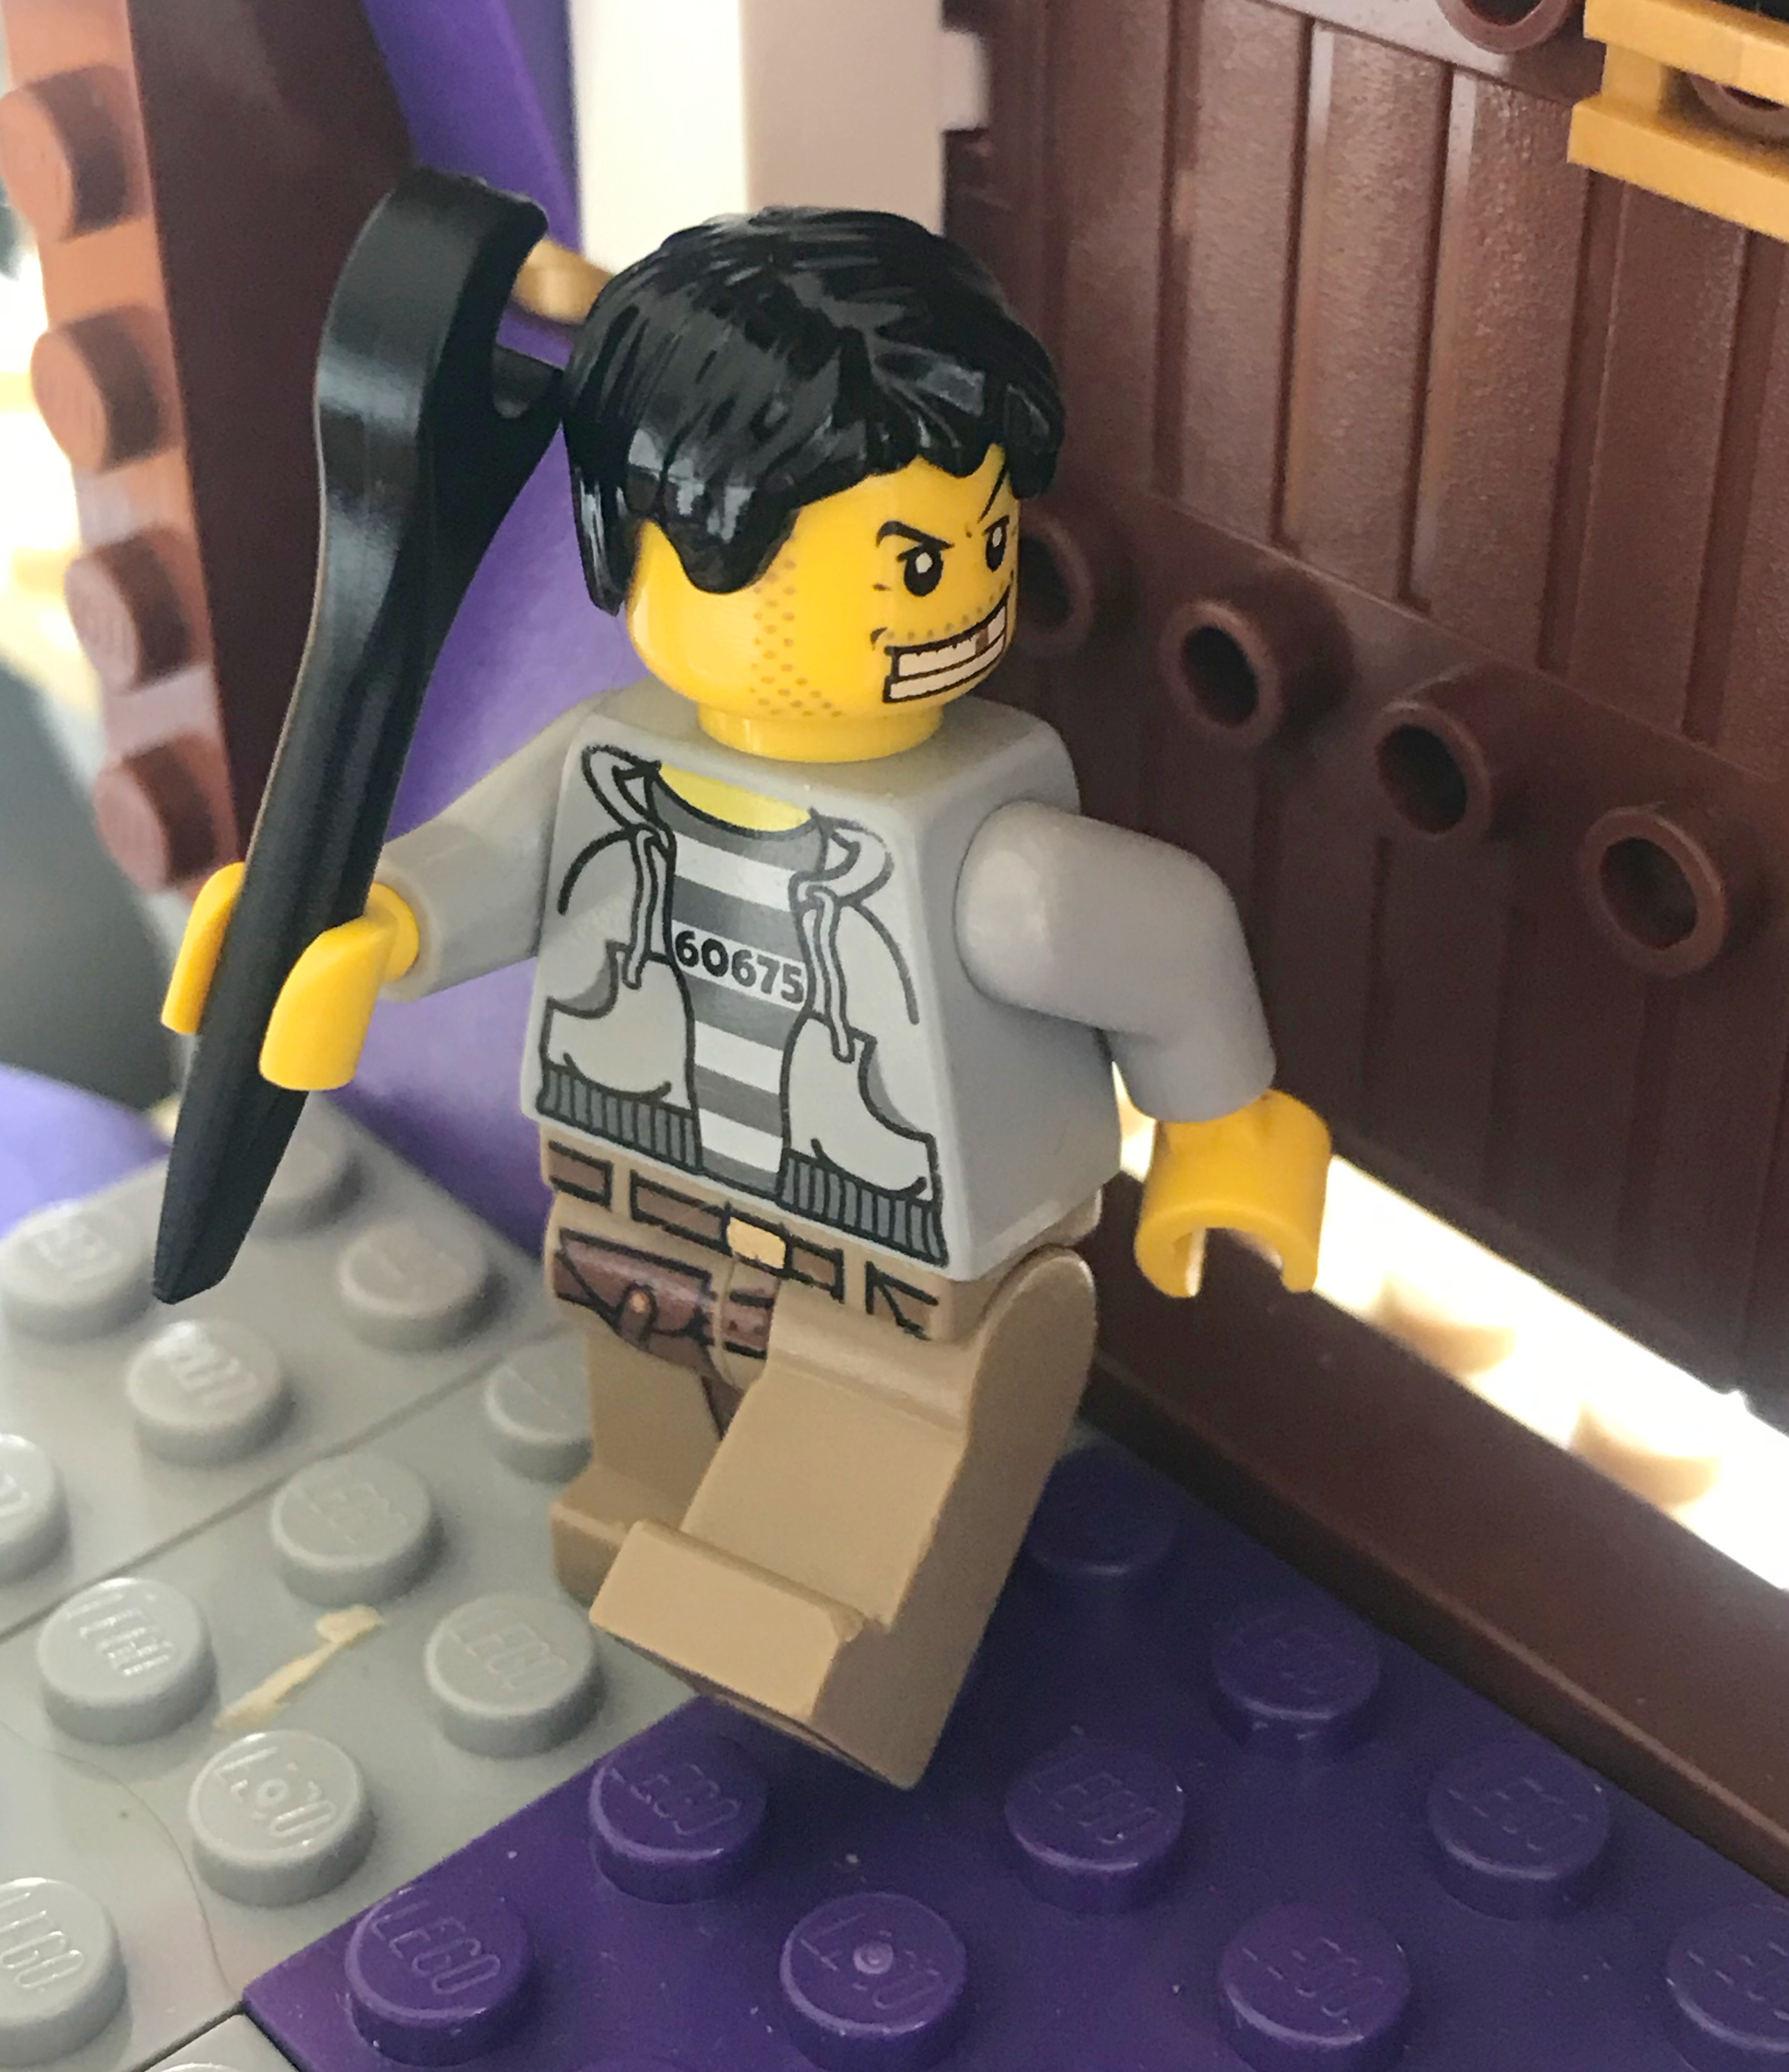 One more step and he’s busted…
Older LEGO fans will recognise the wall pieces from classic 1980s set 8060 King’s Castle which I had as a child. Younger readers and AFOLS might recognise the doors to the museum being from the fabulous 75954 Hogwarts Great Hall.
Ultrasonic distance sensor
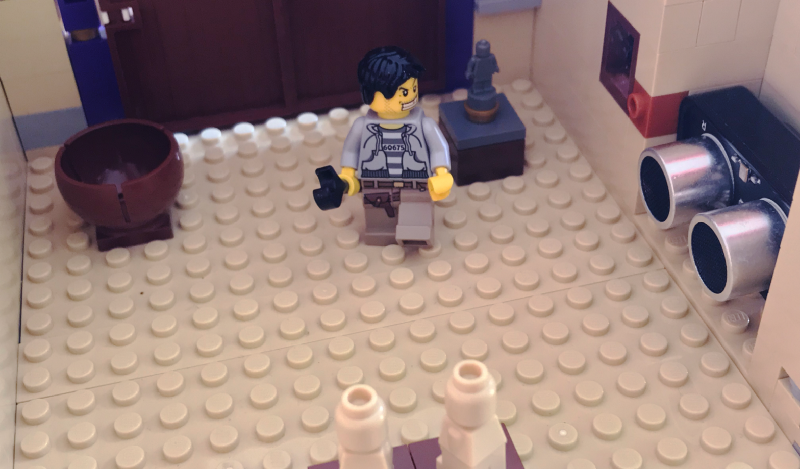
Assuming the nefarious Hooded Paw makes it past the pressure sensor and into the museum, his next challenge is to get past the ultrasonic motion detector. This component measures distance by firing out sound waves and ‘listening’ for it bouncing back after striking an object.

Incidentally, you can use the ultrasonic sensor to design anything from reverse parking sensors to a theremin. You can set the sensitivity of the ultrasonic sensor in the code (we’ll explore the code in more detail in a minute). The ultrasonic is highly sensitive and you may need to adjust its range to get the right result. In the code the distance is measured in centimetres, so a ruler will come in handy. There’s more on how an ultrasonic sensor actually works here.
Light sensor
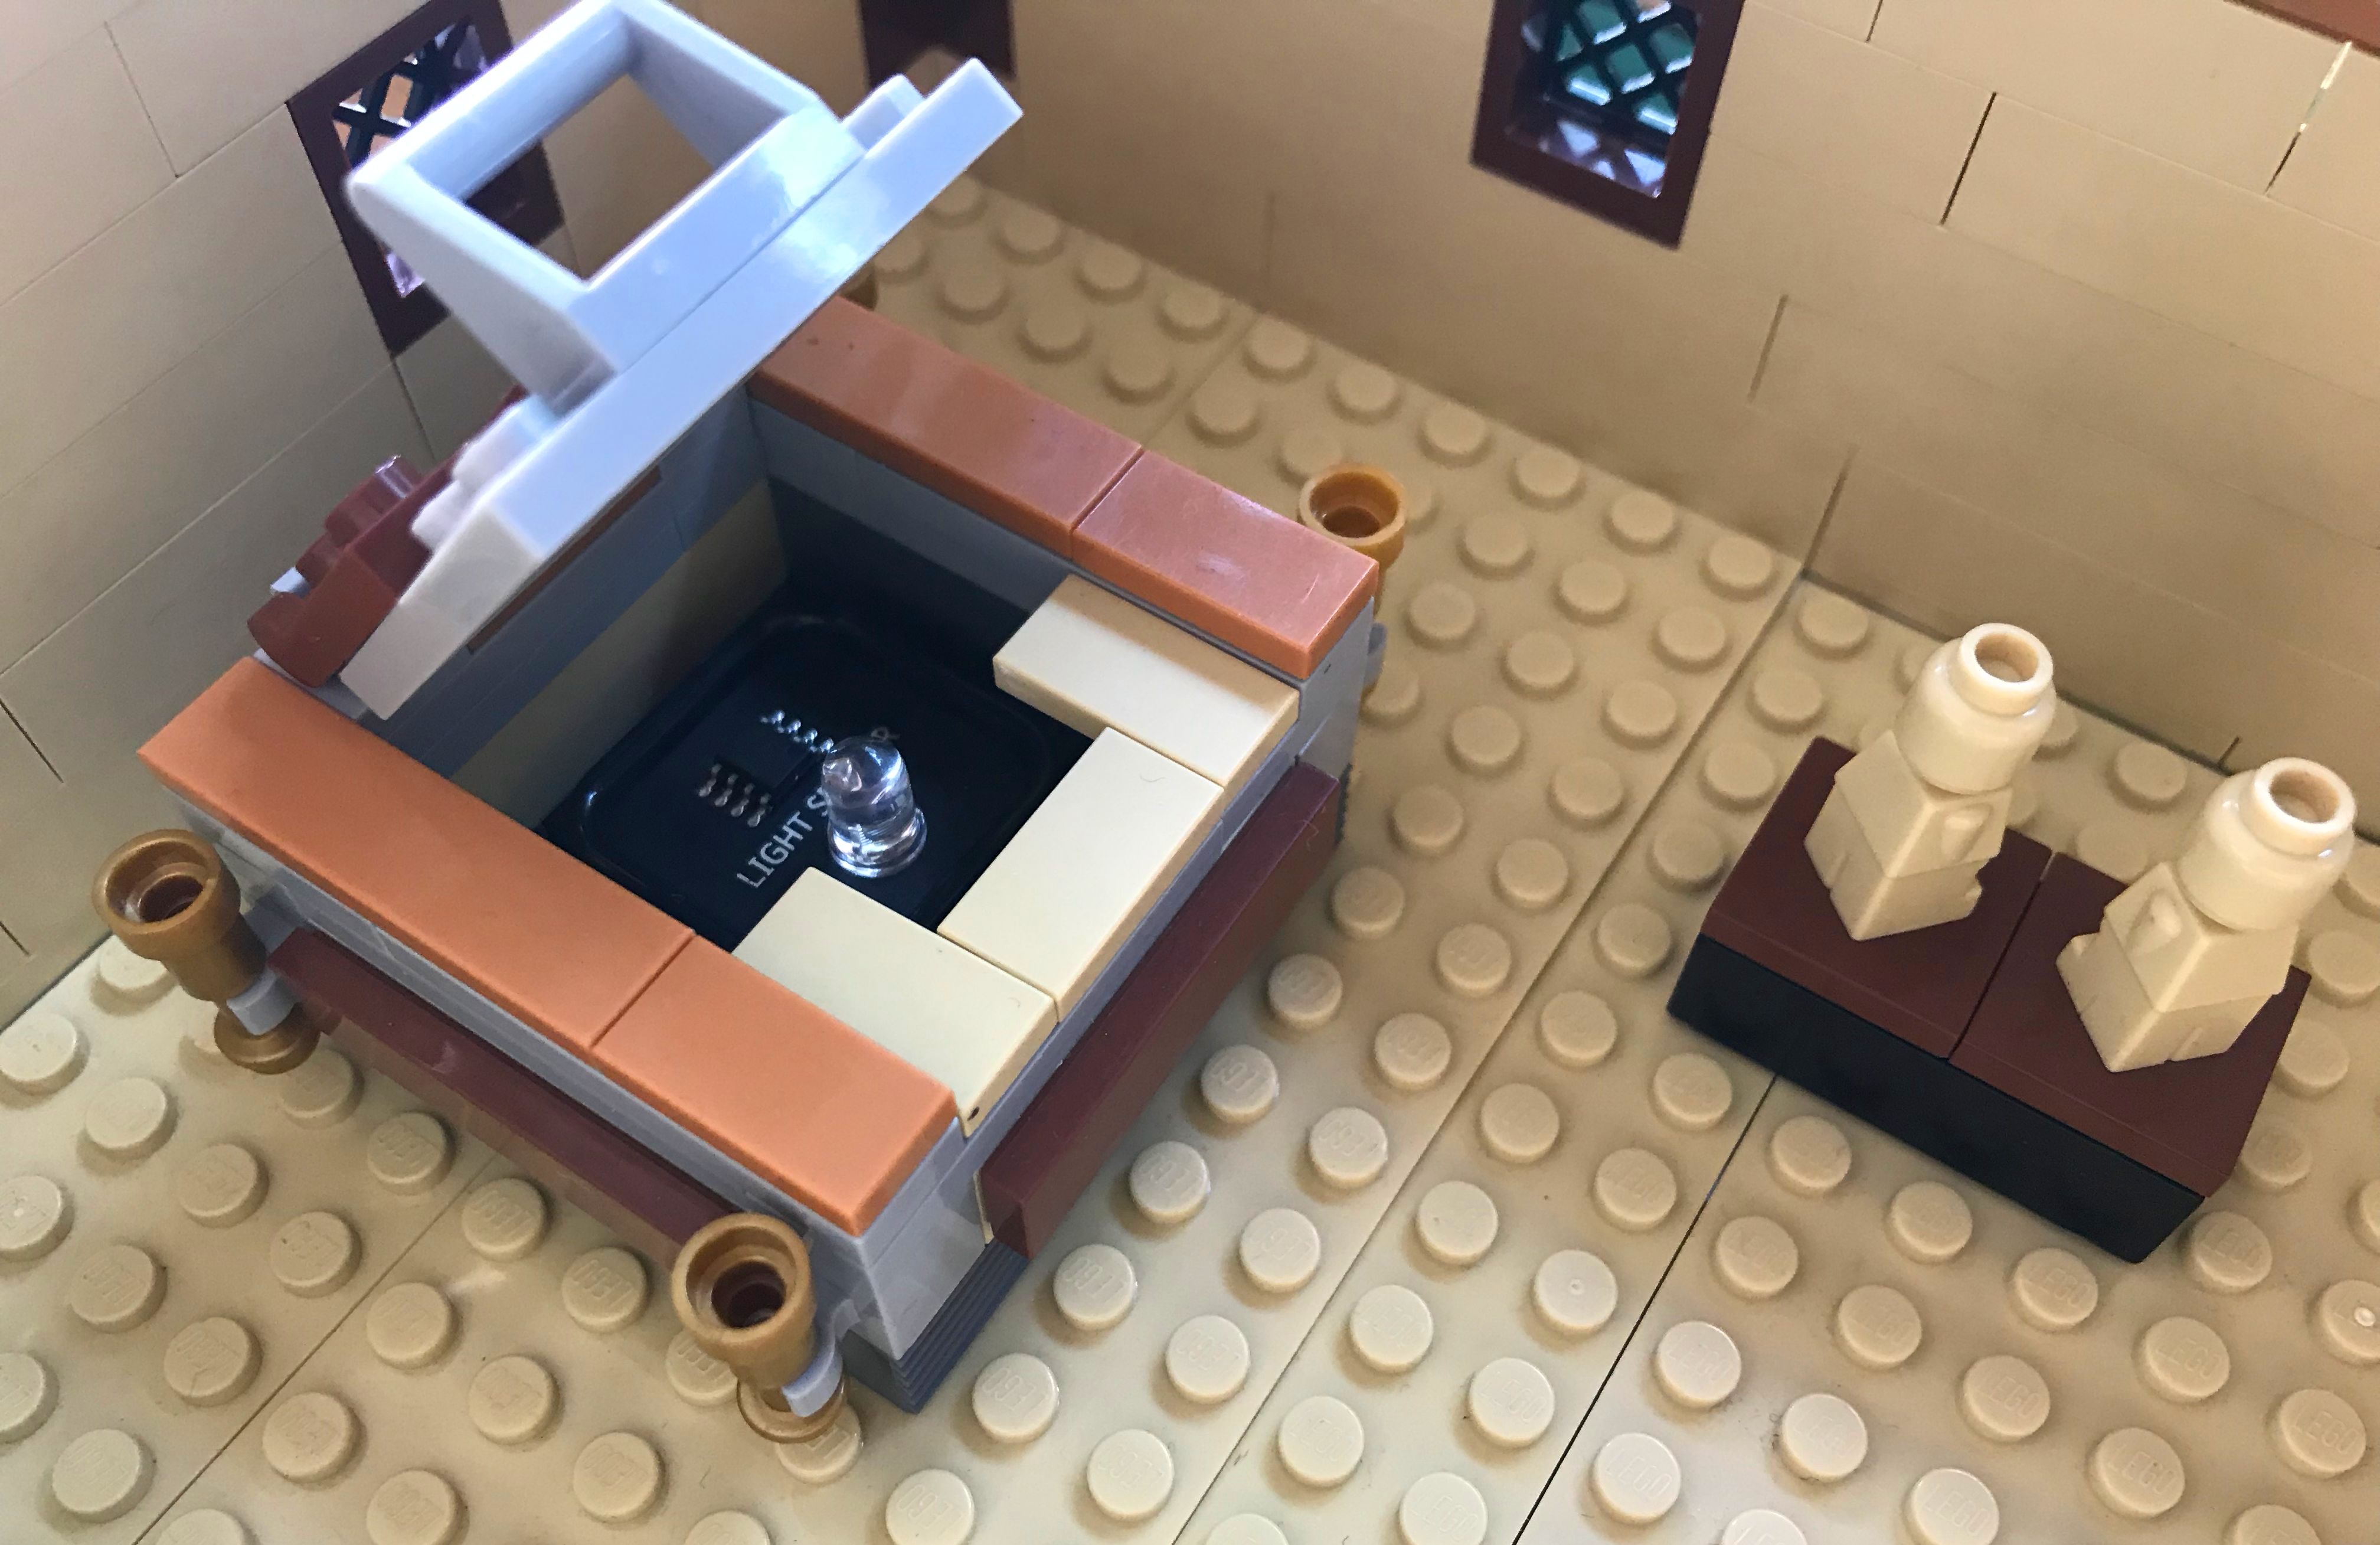
Finally, the last alarm in the museum uses the light sensor and is hidden in the Chest of Anubis itself. The wires for all these sensors pass through the floor into the basement where they connect to the Foundation Plate and the pi-top [4].
Guards! Guards!
Of course, an alarm system is nothing without a way to warn someone of the intruder. So in the guard’s control room, there are two of the LEDs that also come with the Foundation Kit. If everything’s ok, the green one is lit, if one of the sensors goes off, the red one lights up.

Integrating the pi-top [4]
There are many ways to tackle the construction of a project like this. If you’re working in small groups you could assign different tasks to different people, so one might work on the model, another do the code, and a third work on how the physical components of the pi-top [4] connect and interface within the model. In this build it was just two, me and our Learning Designer, Stuart Swann, so we split the tasks between me building and Stuart working on the code.
One thing I will say, we had to alter the design several times (this is a good thing) as we decided on new features and systems, but this is exactly why LEGO is such a good building material.
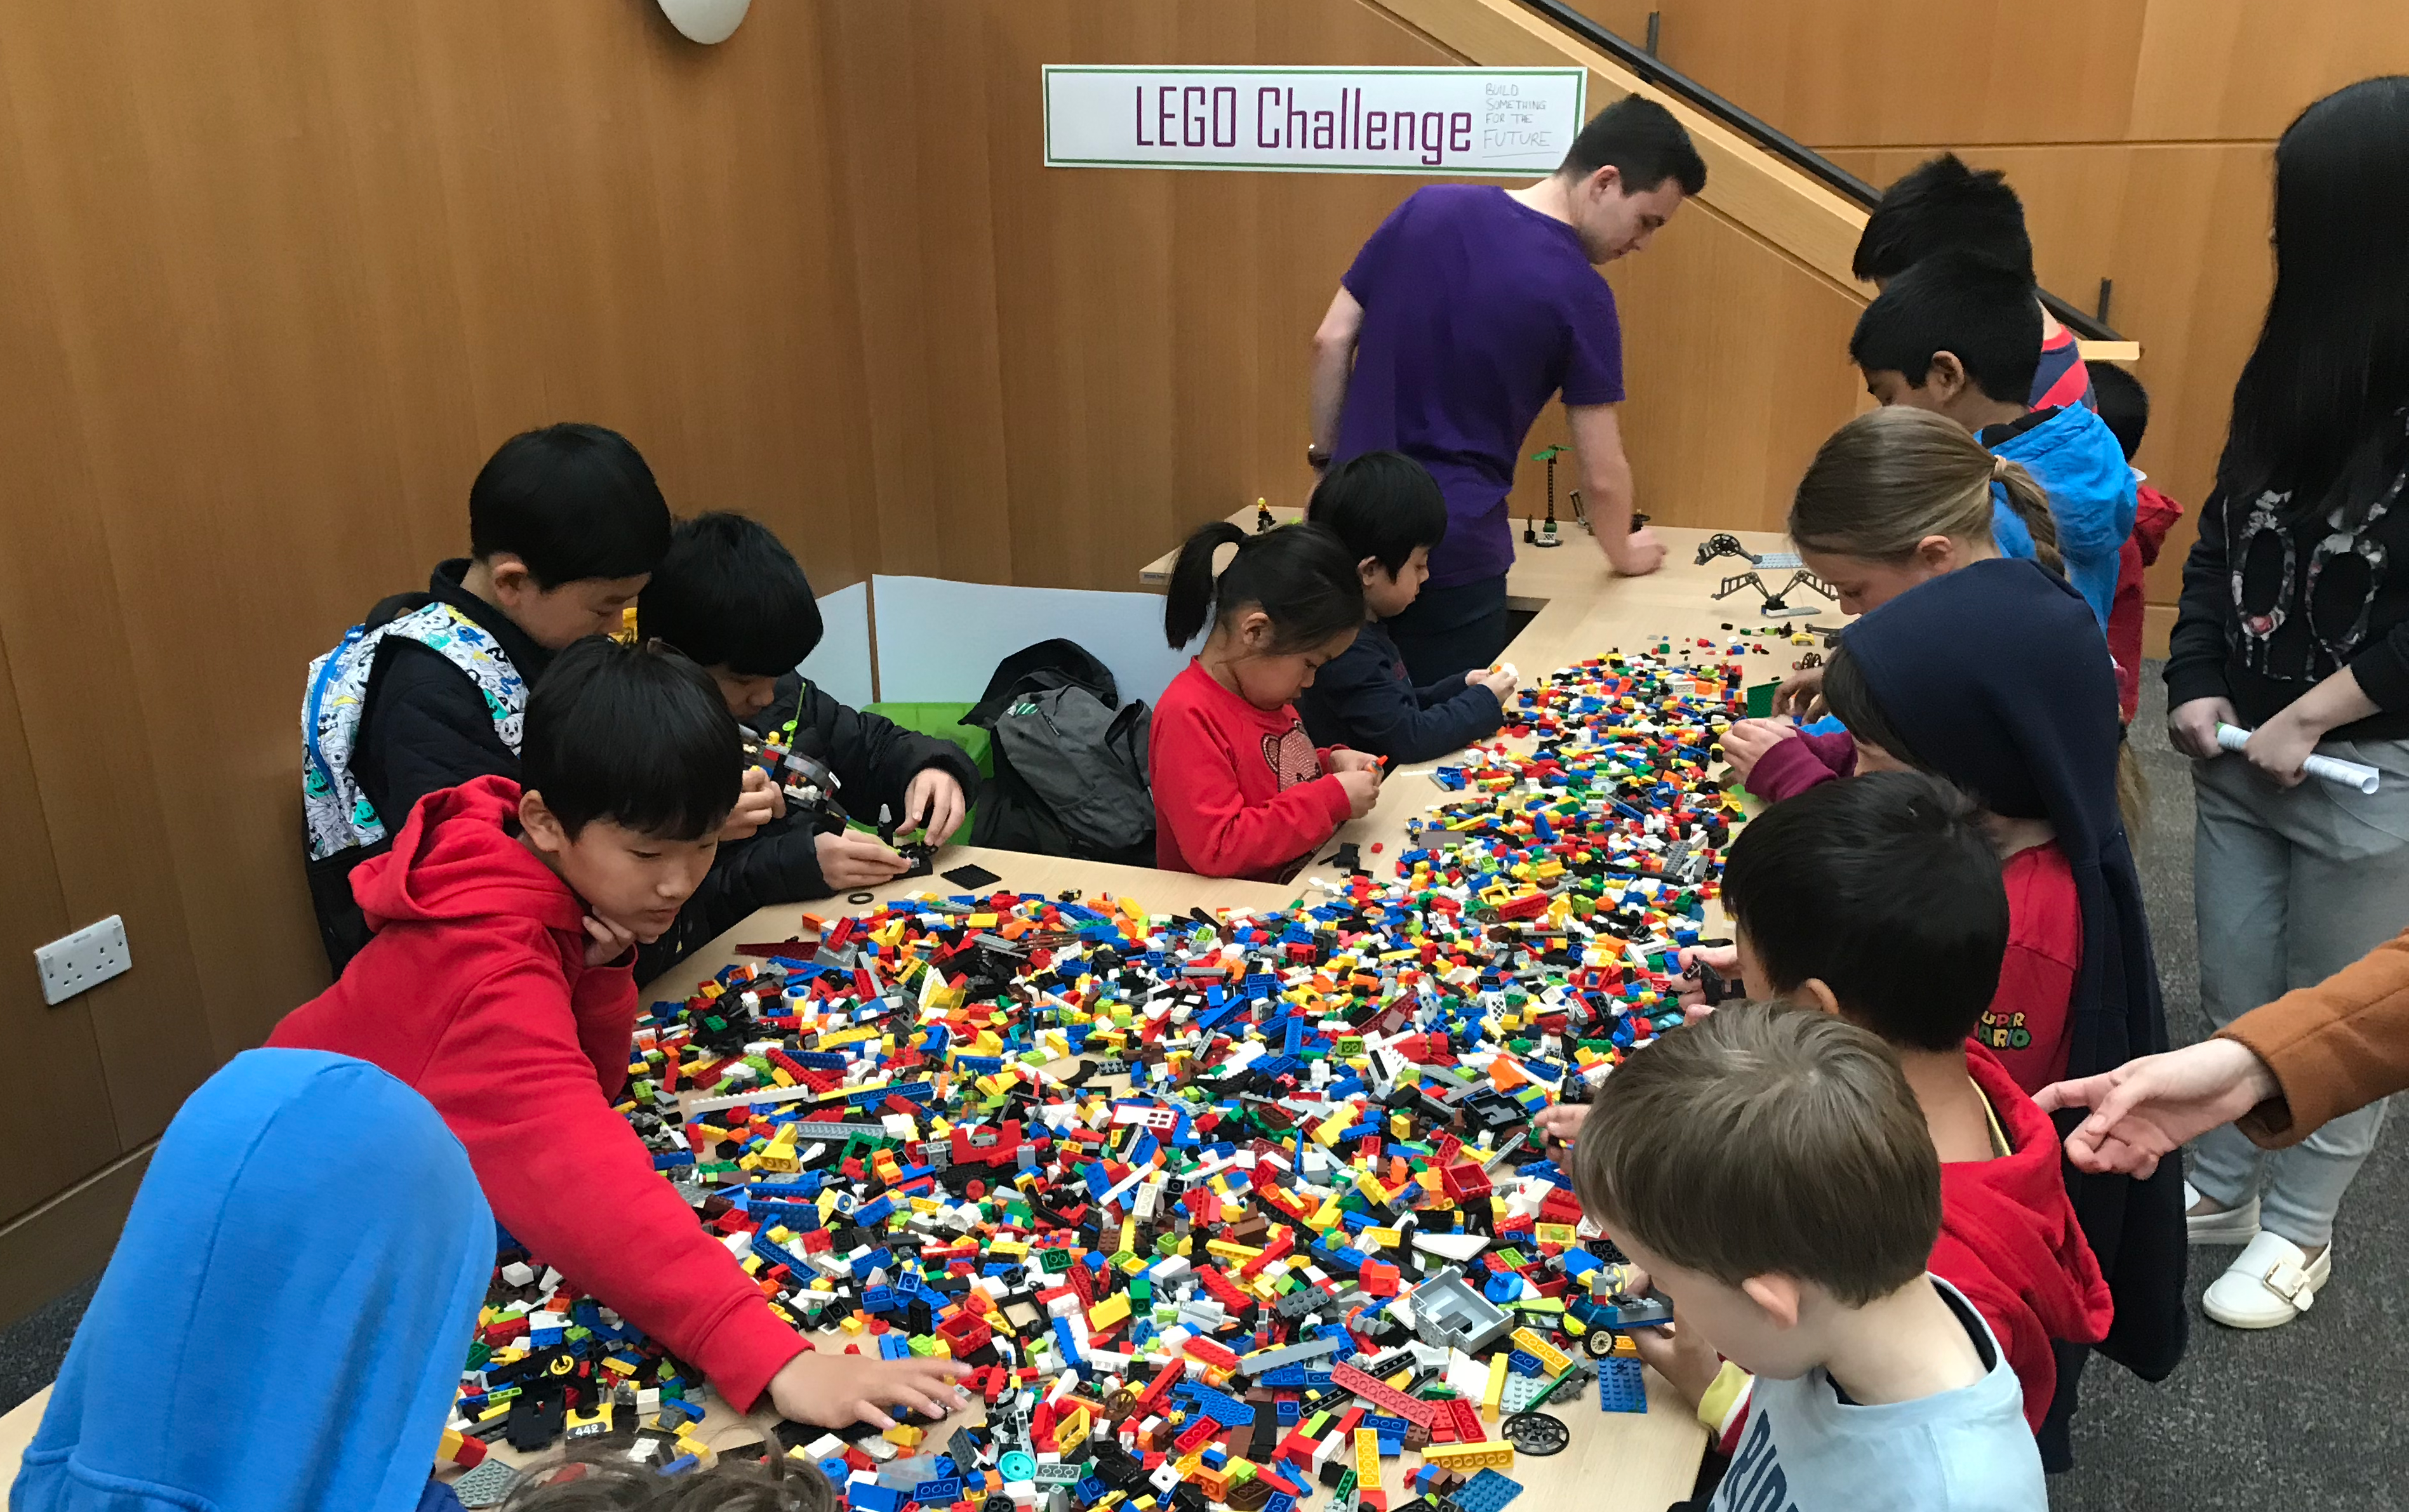
And it’s not just schools or clubs that use it. As a regular attendee of the Cambridge Science Festival, I got to play with the Dept of Engineering’s big collection of bricks that they use for rapid prototyping. It’s not just in the field of engineering that LEGO can be used either, LEGO Serious Play uses bricks in creative workshops, problem-solving and team-building exercises.
The build
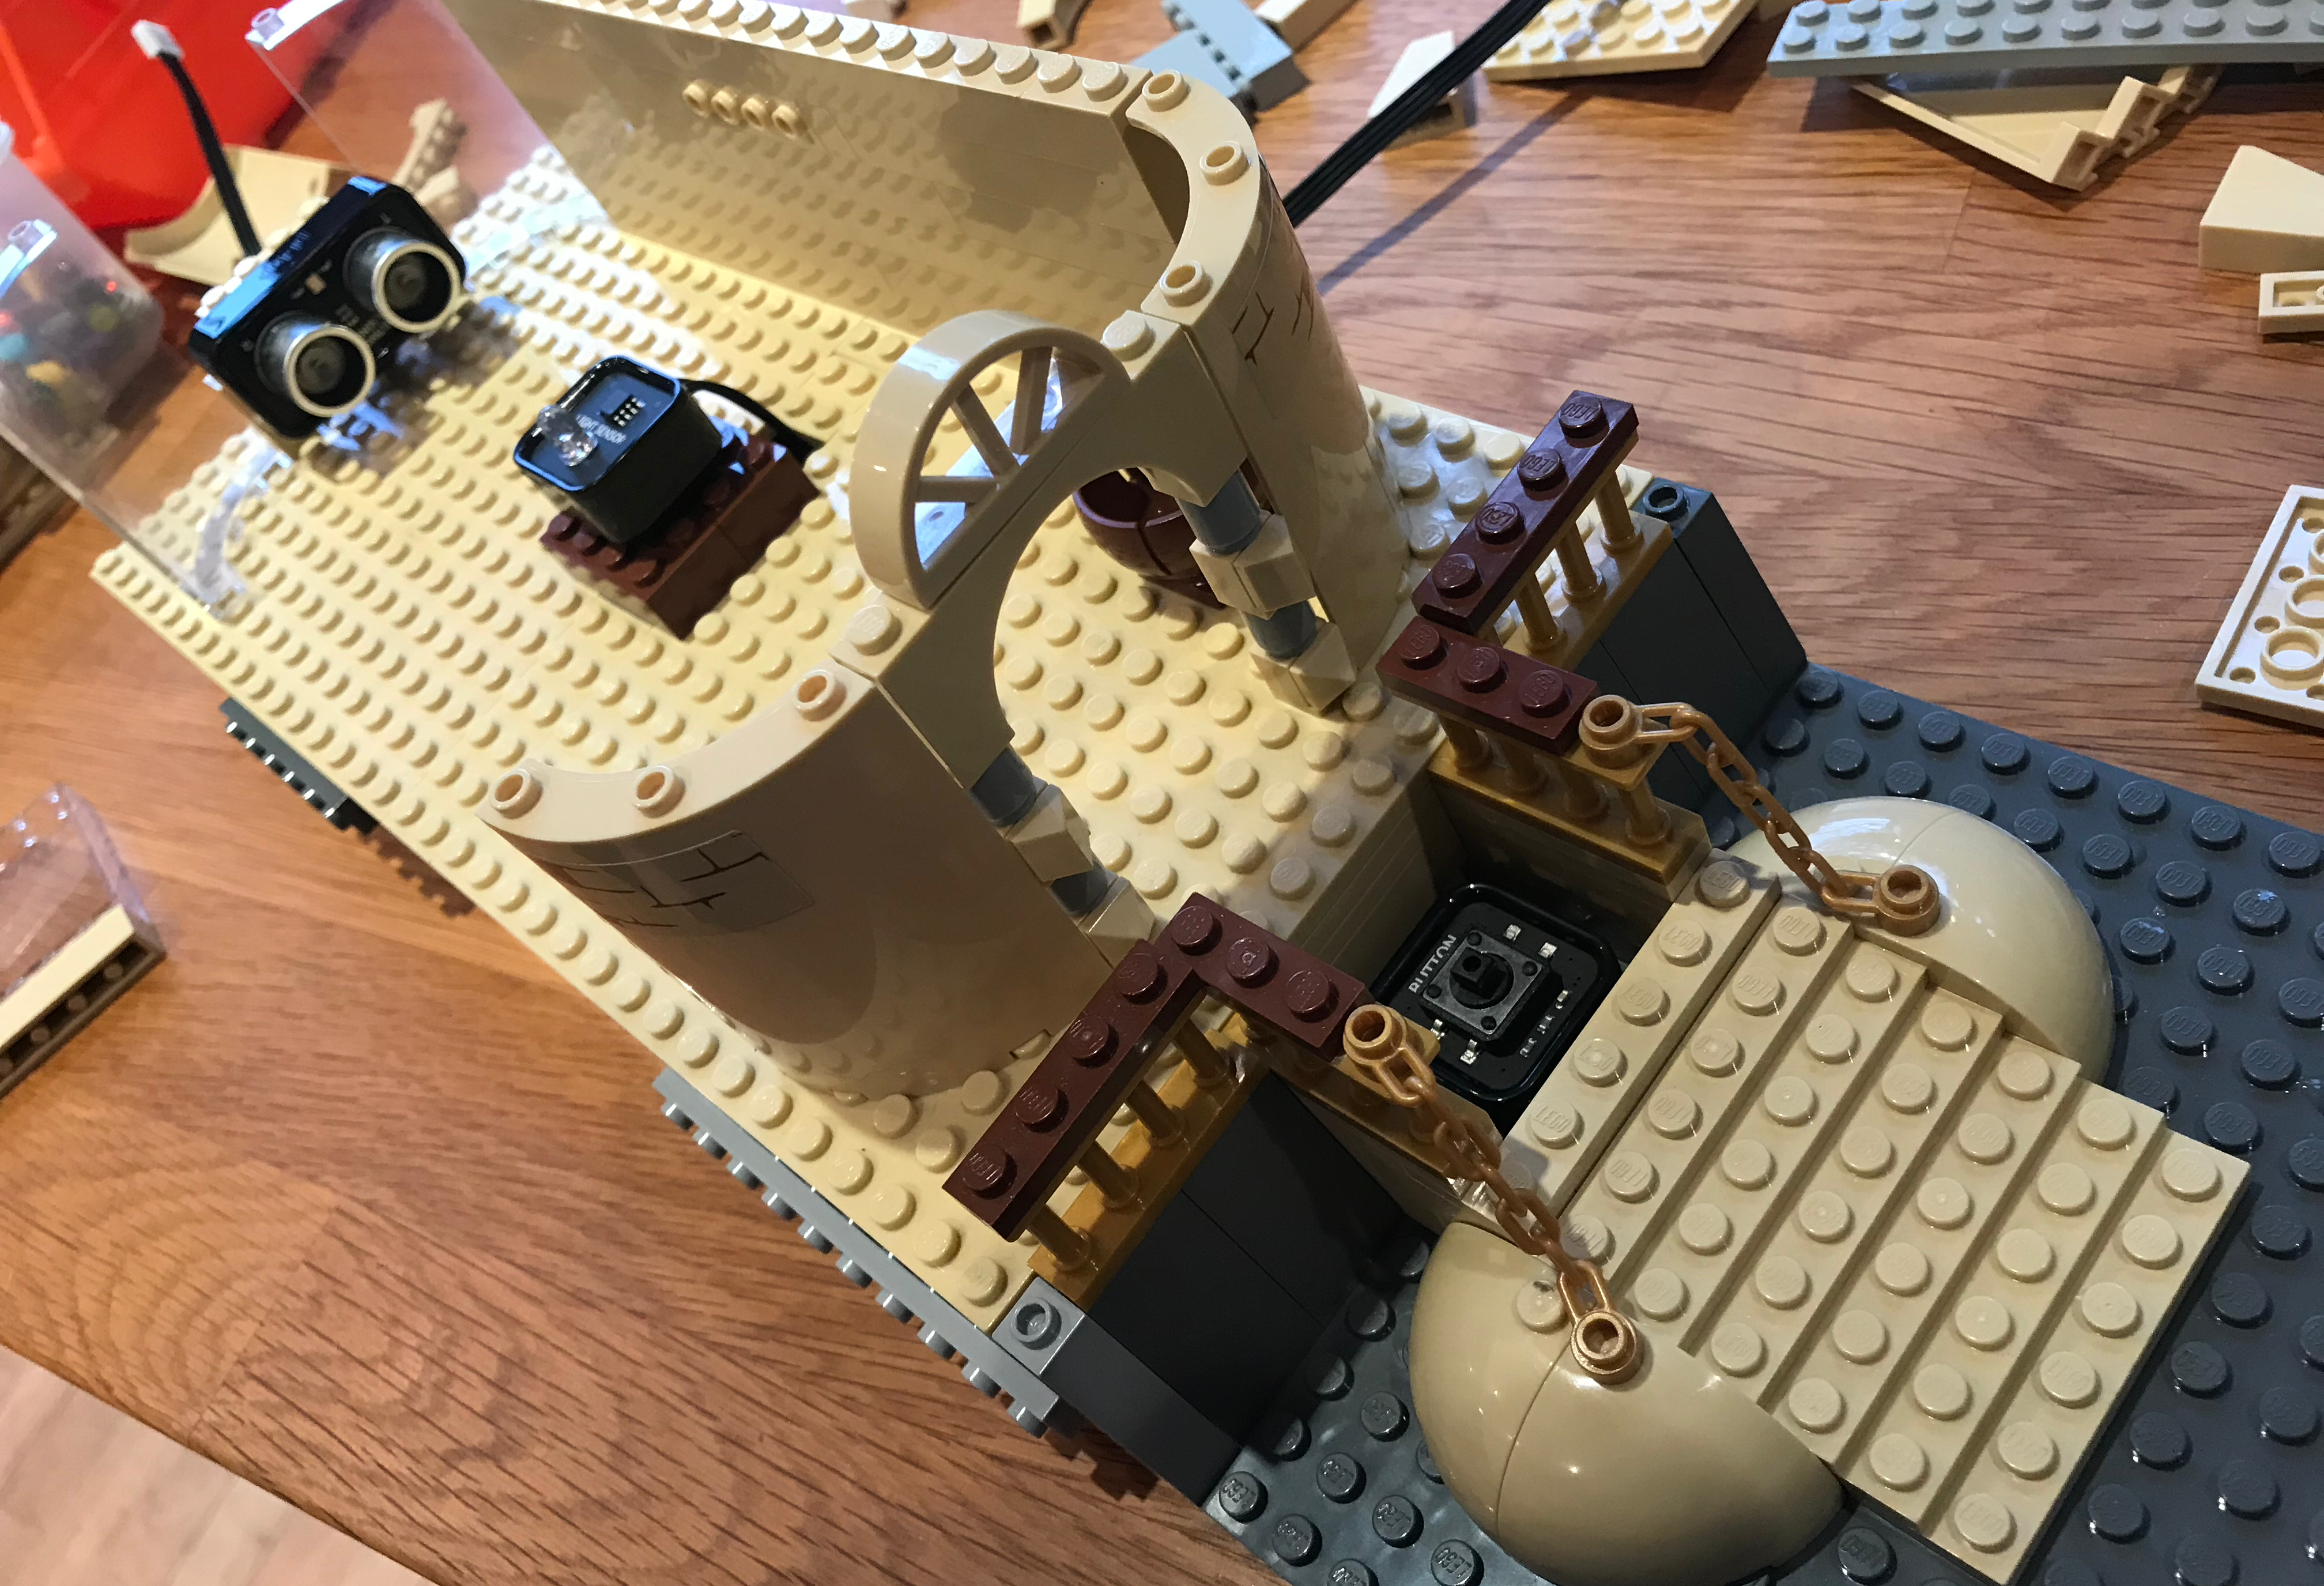
The first design just had the alarms and the pi-top [4] on the outside, with the sensors inside. We then decided to get the mini screen involved and to show messages such as INTRUDER ALERT. This meant building something much bigger so we broke up the back of the build and started again.
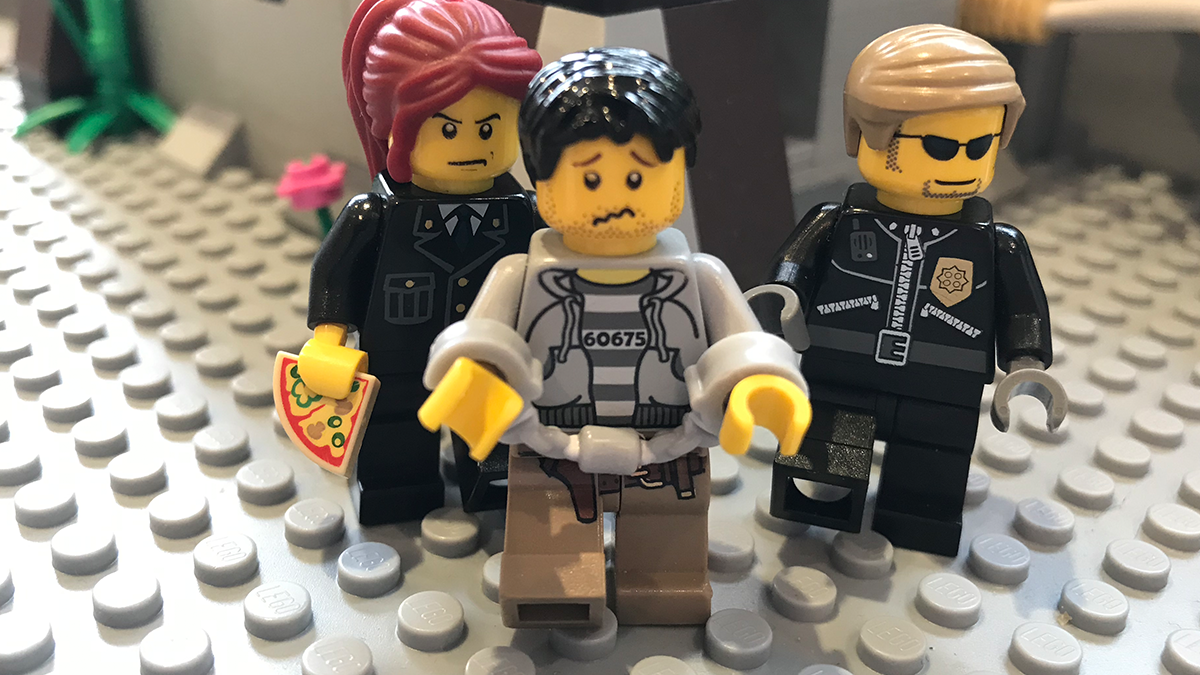
I ended up going down a bit of a narrative rabbit hole and decided to add a guard room with two pizza-eating guards who could respond to the intrusion. This led to the second design which you can see in this time-lapse.
Finally, not happy with this version and running into some structural support issues. I decided to break the entire thing down and start again on a 48x48 baseplate.
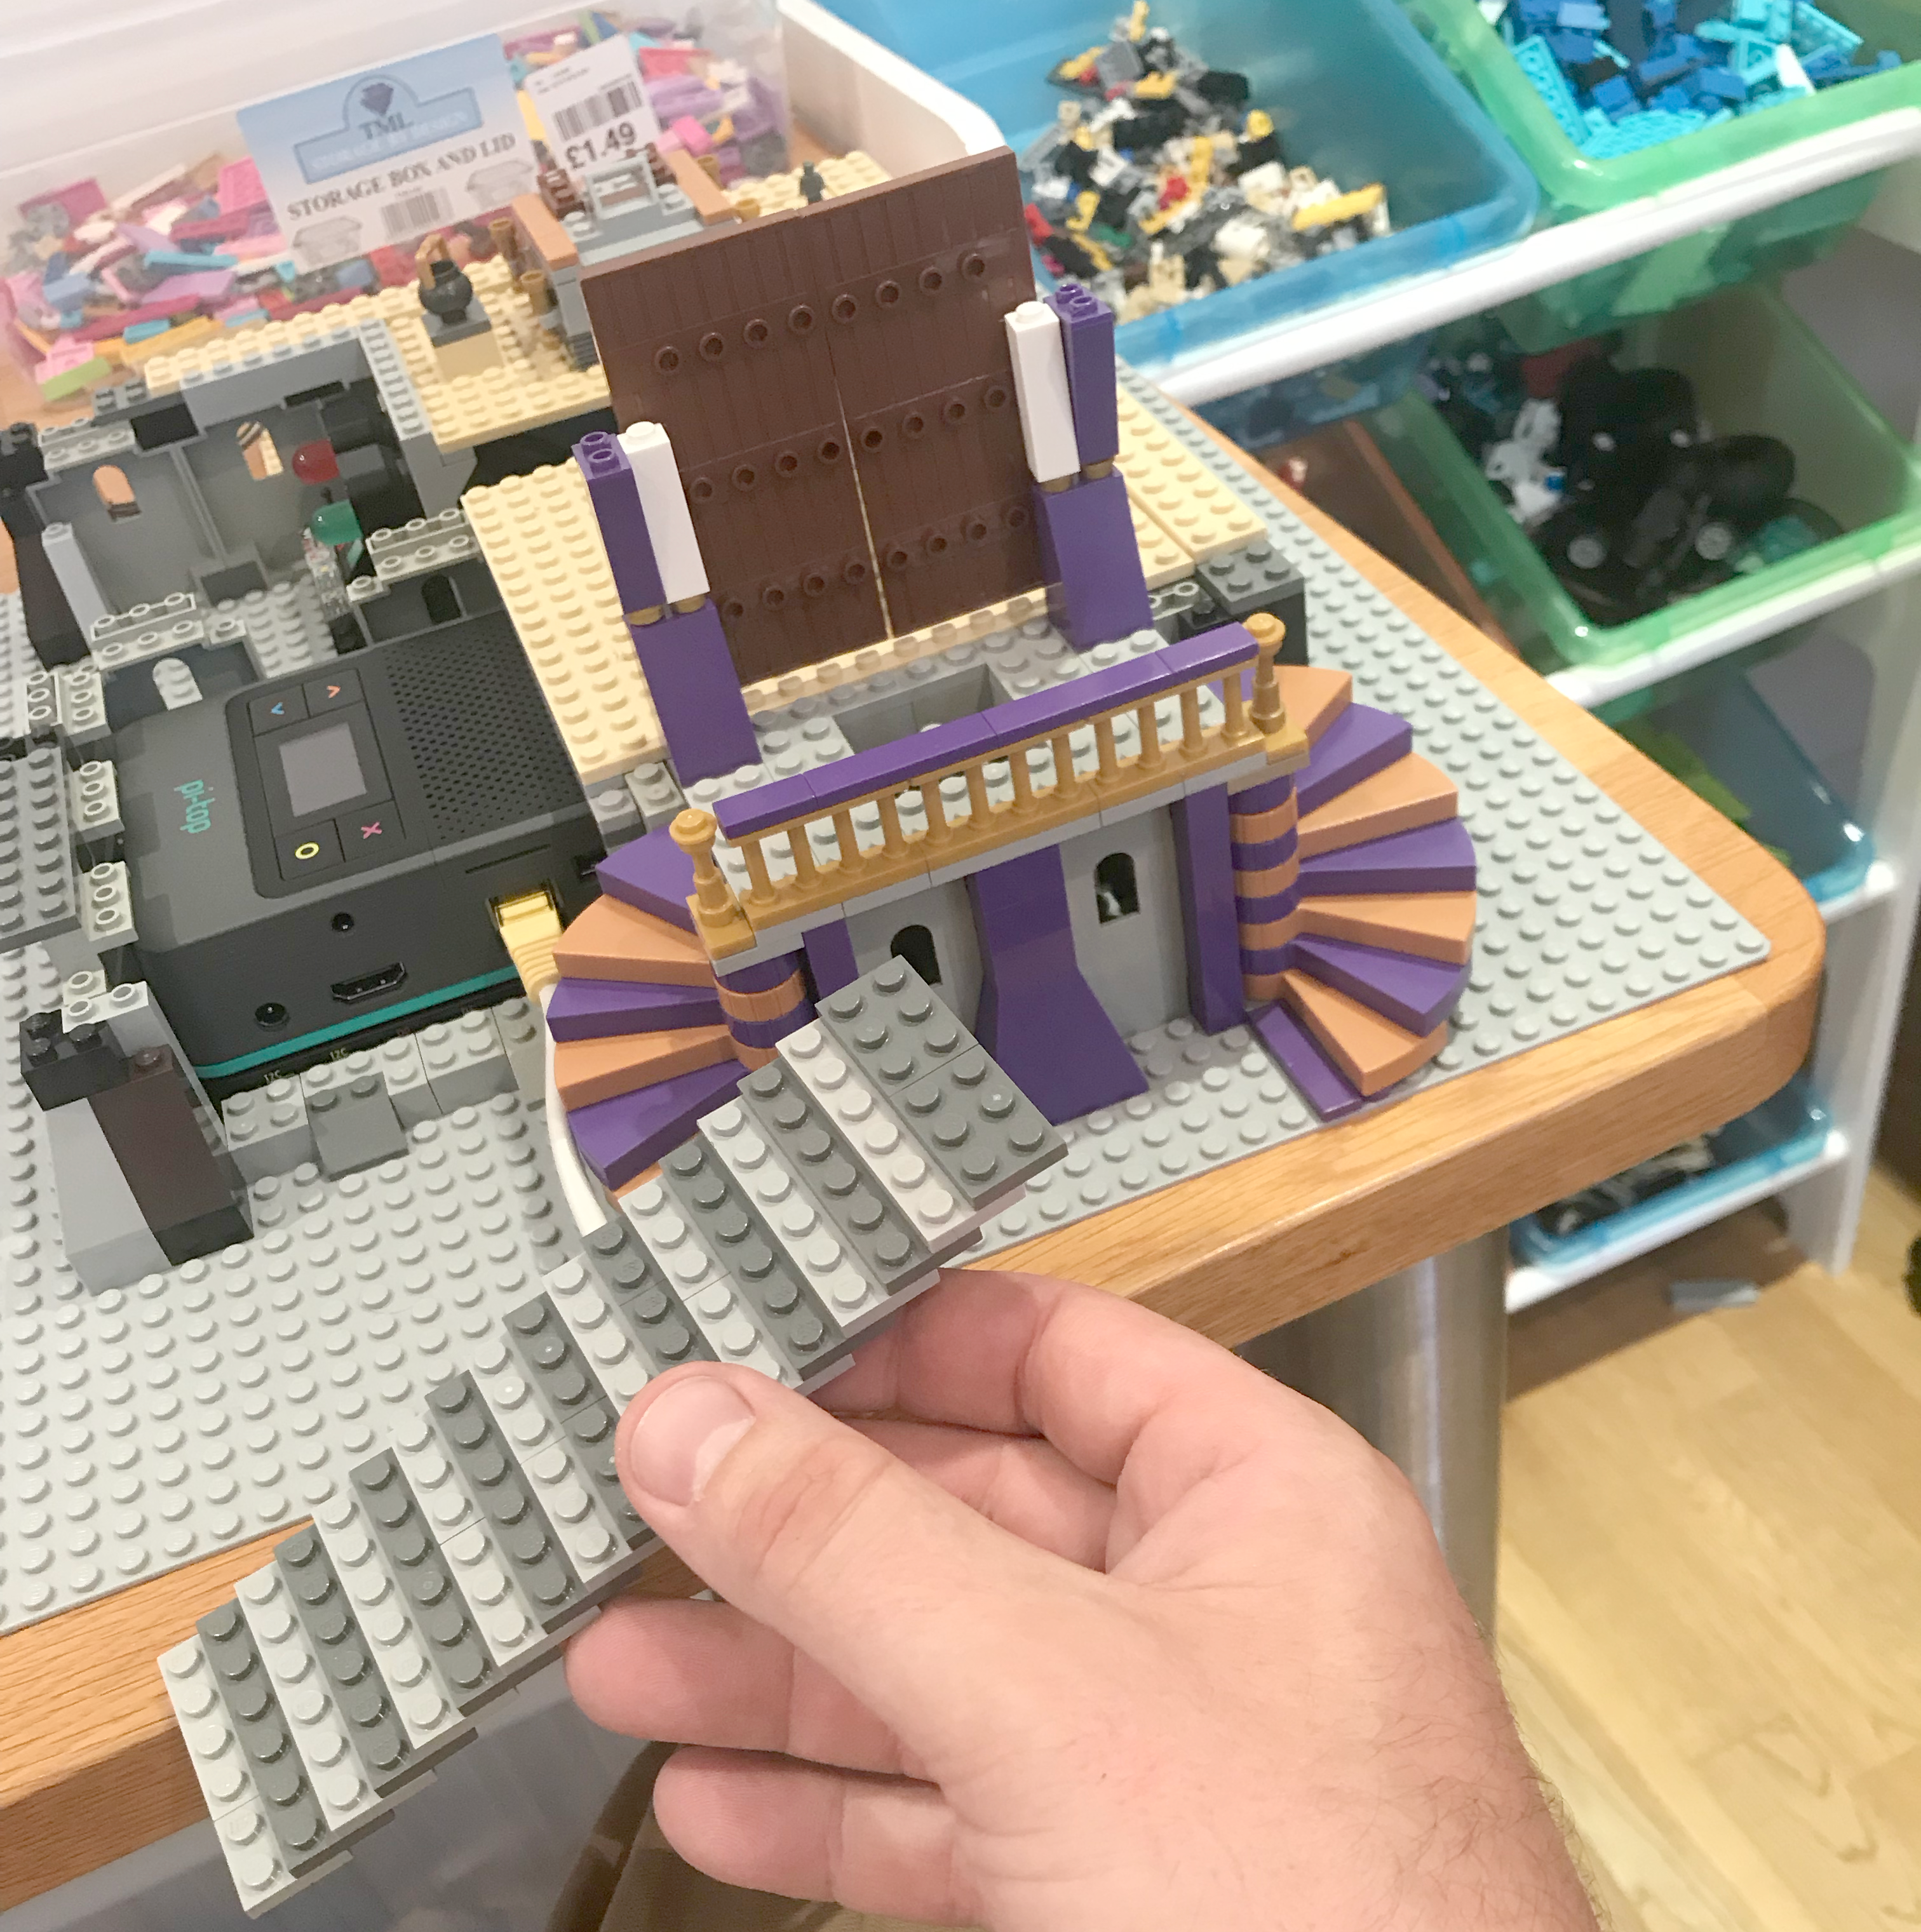
Here I began to think about the steps up to the museum from the original build. At first, I went for a simple set of light and dark grey 2x6 pieces to make the steps, but having found two sets of spiral stairs I went into overdrive with the gold and purple. Design-wise, I was thinking about the Victorian ornateness of the V&A, itself inspired by 15th Italy. Indeed, the architectural inspiration could be another avenue for learners to explore in a project such as this.
I also added a cauldron inside the museum, inspired by the Battersea Cauldron in the British Museum.
When making anything part of the learning process is being prepared to iterate and modify the design as you try things out and come up with new ideas. This, after all, is what learning is all about — trying things out, testing them and adapting accordingly.
The Code
One of the beauties of using Python on the pi-top [4] and in Further is that it’s easy for a non-programmer like me to understand what is going on and which bit of code is controlling which component.
The code for this is actually quite light (see the end of the article), it begins by calling in the libraries needed, sets up the components and then adds IF statements. One thing to make sure is to note which ports you plug the components into before you seal it up in the build. Also, note that the light sensor has to go into one of the analogue ports A0 — A4, whereas the others can attach to any of the digital ones.
You also might want to think carefully about the distance between each sensor component and the pi-top [4], because the accompanying wires are only around 8cm in length. You can, of course, extend them if you have more wires, but if you’re building straight from the box, take note.
Take it Further
So once you’ve got this up and running how could you and your students or club expand on it? Well one idea is to have the sensors activated by a secret code you enter on the buttons, much like Playstation cheats (<, x, o, o, x ^). You could also add a sound sensor to hear the footsteps of any intruder. Using the built-in speaker you could have a AWOOGA! sound play when the alarm goes off. Finally, you could use the other included button to make a system where the removal of a sacred artefact triggers an Indiana Jones-style boulder chase! And if you want to buy other third party components, they’ll play nice with pi-top too, so you could make a Mission Impossible laser tripwire.
I do hope you’ve enjoyed your visit to the London Museum of Antiquities. Remember pi-top [4] is available to buy now.
The Code
from ptpma.components import *
from ptbuttons import *
from ptoled import PTOLEDDisplay
mini_screen = PTOLEDDisplay()
canvas = mini_screen.canvas
canvas.set_font_size(25)
green_led = PMALed("D5")
red_led = PMALed("D4")
pressure_sensor = PMAButton("D3")
motion_sensor = PMAUltrasonicSensor("D6")
light_sensor = PMALightSensor("A2")
select = PTSelectButton()
red_led.off()
green_led.off()
def reset():
red_led.off()
green_led.on()
canvas.clear()
canvas.multiline_text(canvas.top_left(), "SECURITY ACTIVATED")
mini_screen.draw()
def pressure():
green_led.off()
red_led.on()
canvas.clear()
canvas.multiline_text(canvas.top_left(), "INTRUDER! \nENTRANCE")
mini_screen.draw()
def motion():
green_led.off()
red_led.on()
canvas.clear()
canvas.multiline_text(canvas.top_left(), "INTRUDER! \nMAIN HALL")
mini_screen.draw()
def safe():
green_led.off()
red_led.on()
canvas.clear()
canvas.multiline_text(canvas.top_left(), "CHEST OPEN!")
mini_screen.draw()
while True:
select.when_pressed = reset
pressure_sensor.when_pressed = pressure
if motion_sensor.distance < 5:
motion()
if light_sensor.reading > 100:
safe()
Article by Andrew Webb. Originally published at https://medium.com/pi-top/pi-top4-lego-museum-c8973c4a0a5 on September 10, 2019.
