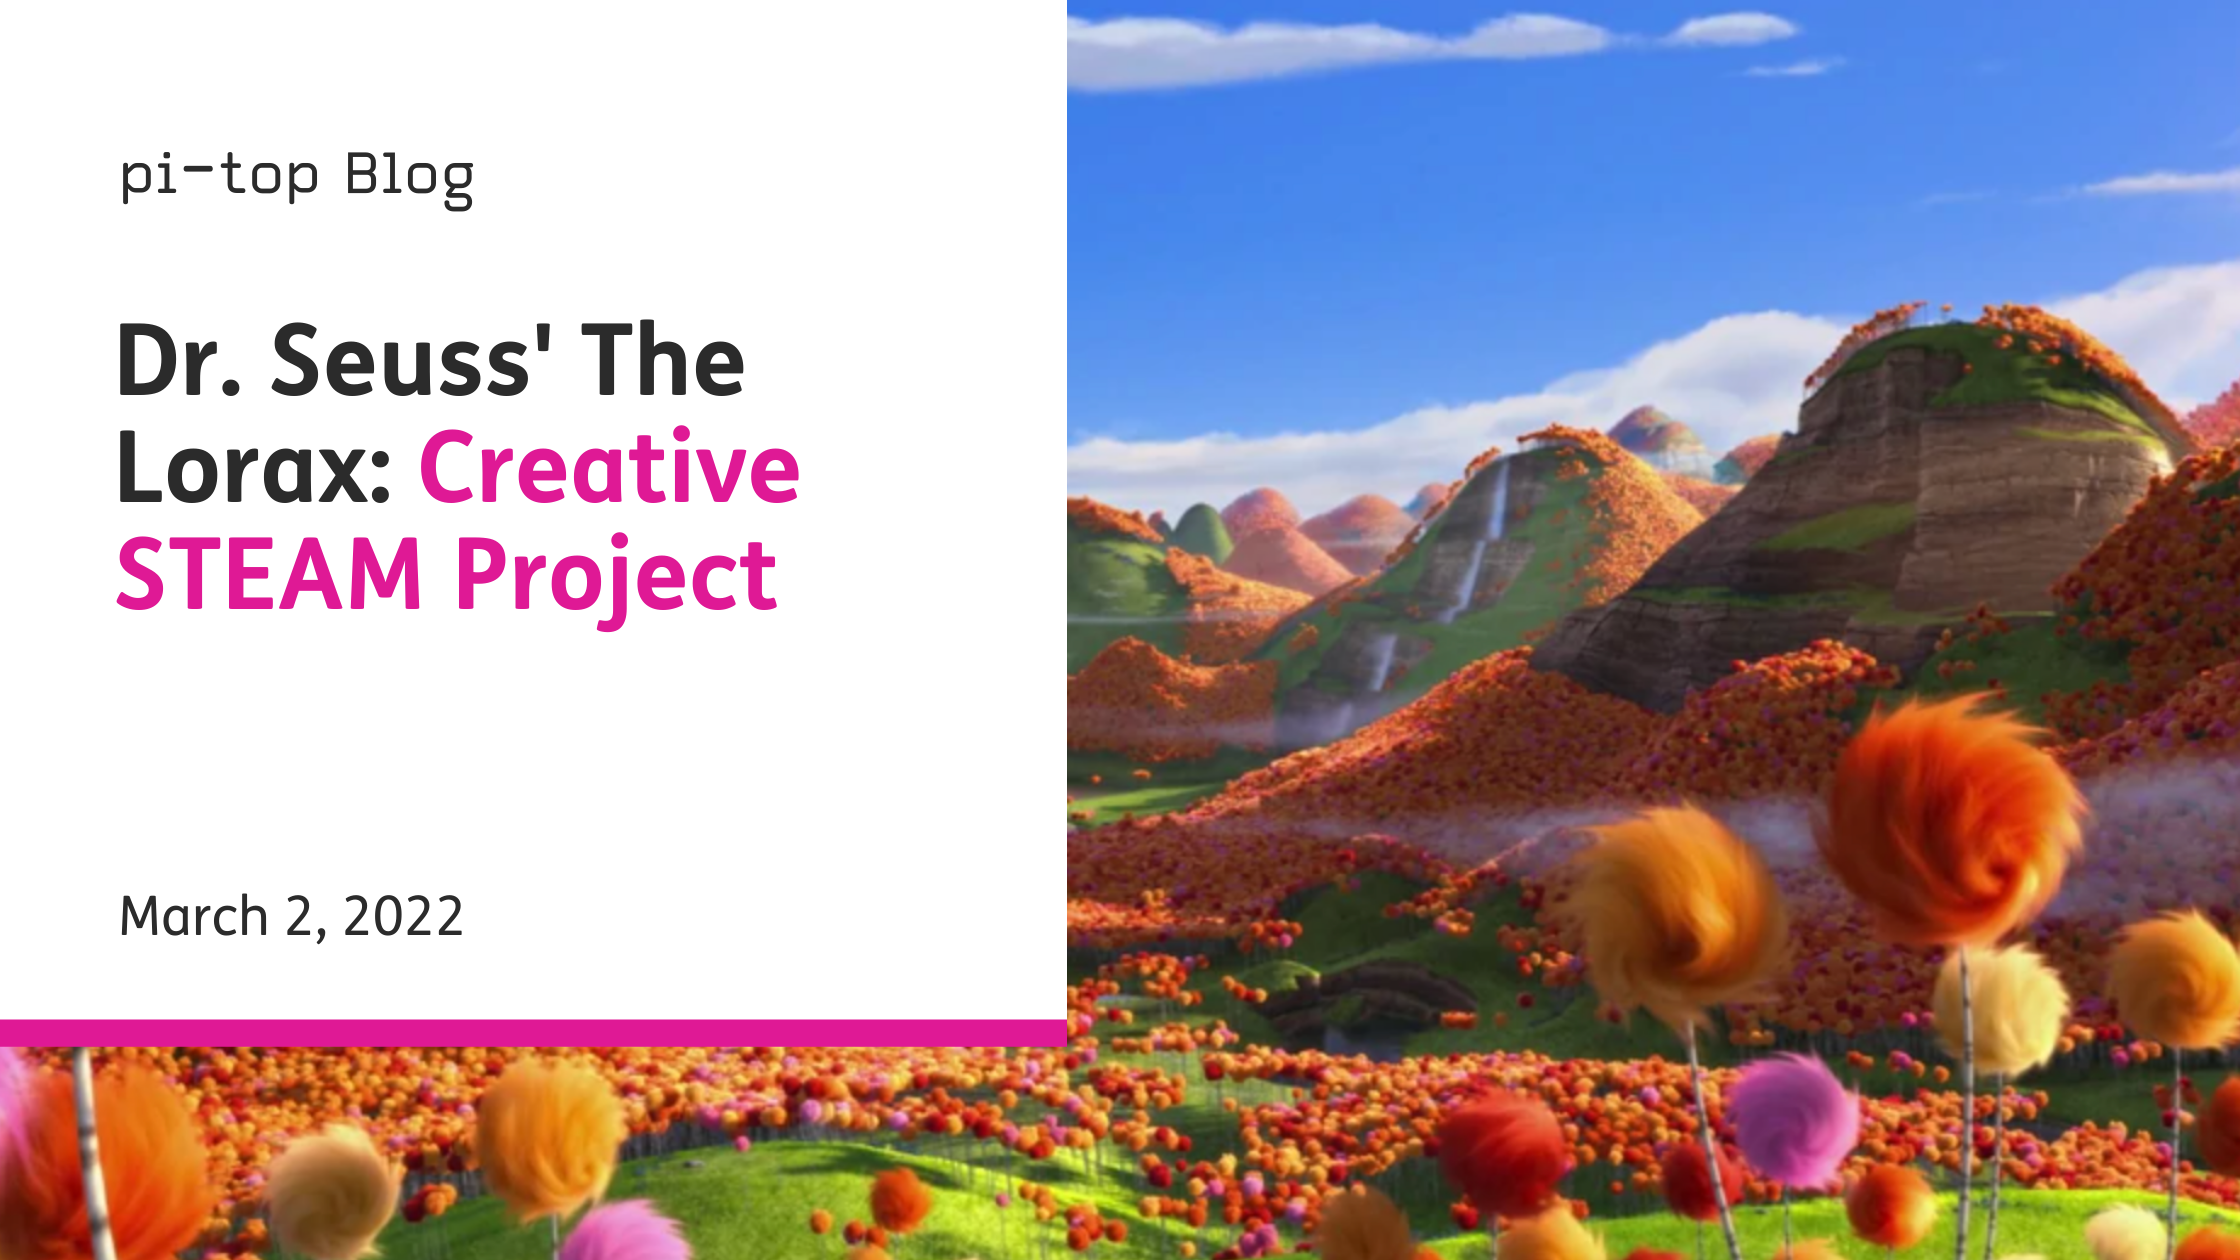
The Lorax: Truffula Trees
In celebration of Dr. Seuss Day, we're bringing you an awesome STEAM project to try out with your students! This is a great opportunity to use your pi-top ecosystem outside of the traditional STEM curriculum. Integrating computer science with other subjects such as English or History can:
- Solidify learning from the curriculum. When students are able to physically make something in response to a brief relevant to the content they have studied, they are more likely to absorb that information and remember it!
- Help students who otherwise may feel disengaged from traditional STEM subjects to learn those crucial future-proof technology skills. Art can make seemingly scary or overwhelming topics feel more approachable and understandable.
We've used Dr. Seuss Day as an example of how you might integrate pi-top into your English or Creative Writing classes but our collection of STEAM projects on Further can be used with any subject you like. For more information about the benefits of STEAM education, check out this article.
Materials You'll Need:
- Choose what you would like to use for the Truffula trunks. I used branches that fell into my yard, from an oak tree. It was great because they were dried out and I could choose the sizes. Other materials you could use are straws, wooden skewers, sturdy cardboard, rolled paper, etc.
- Find the material for the treetops. I used fake fur fabric squares so that I could form the shape and sew it together but you can use any material that gives a wispy aesthetic. Other materials you could use are: cotton balls, foam, shredded paper, etc.
- If you would like to add grass there are many things you can use. I ordered fake grass squares, cut them up, and layered them.
- The other materials are scissors, cardboard, needle and thread, hot glue, paintbrush, white paint, the pi-top[4] and the Electronics Kit.
The Process:
1. Roughly paint white stripes to make a pattern on the tree trunks. Set them aside. I did this step after everything was put together but it would have been easier to do it at the start.
2. Now you need to make the truffula treetops. If you are using fabric, fold the left and right sides of the fabric square in. Sew the top two corners together to keep the “tube” shape. Roll the fabric tube up to make a swirl then secure the treetop shape together by sewing it.
3. Repeat the process until you have a treetop for every trunk.
4. Add glue underneath the treetop and attach it to the trunk. I found a “hole” in the tops that I created, applied some glue, and then pushed the branch through to secure it.
5. Glue the trunks to the cardboard base. I wanted mine to be spaced out but you can arrange them any way you’d like. You may need a generous amount of glue to secure the trunks. Tape may work but because I move my creation around, hot glue was best.
6. Next, attach the grass to the base. Since I used the grass squares I cut them into triangles so that I could overlap them and tuck the edges. This created the uneven terrain you see. If your pieces hang over the edge, make sure to glue them to the bottom of the base.
7. Add the electronics. I decided I wanted my cables hidden, so I cut holes in the cardboard to run them through the base.
8. Add LEDs to the connector cables and connect the other end of the cables to my Foundation Plate.
9. The last step is to follow our LED Component Tutorial to program your LEDs to light up! View the tutorial here.
BONUS: If you'd like an extra challenge, why not attach our Ultrasonic Sensor and tinker with your LED code to make your Truffula Trees light up when someone walks by? You could even record your students reading an extract from The Lorax and program your pi-top [4] to play the recording at the push of a button!
With the pi-top [4] and your Electronics Kit, the world is your oyster! Check out our project hub Further for more tutorials and ideas.
Trying this project out with your students? Let us know on social media by tagging us @GetPiTop - We love to see you guys enjoying our projects!
