Maker spaces are places for exploration and creativity, but how do you keep your maker space from turning into a chaotic mess? Here are some of our favourite ideas.
1. Keep everything organised with a pegboard
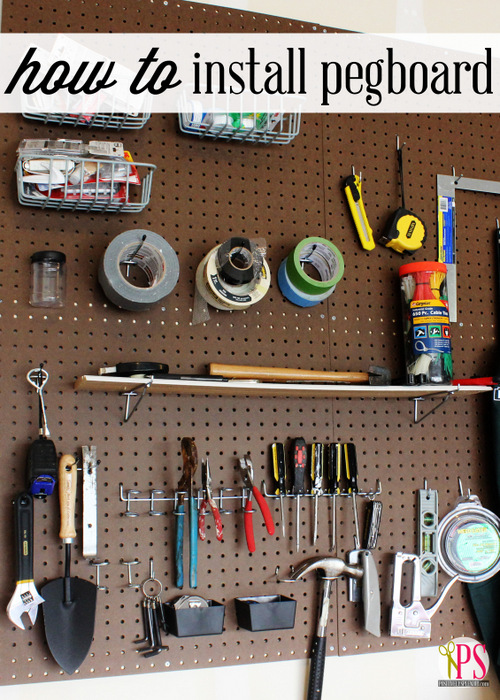
Pegboards are a brilliant solution to keep everything from tools to craft supplies close at hand. Learn how you can install one at Positively Splendid.
2. Hang up a magnetic strip to hold alligator clips screwdrivers, wrenches, and scissors
This hack works for screwdrivers, screwdrivers, wrenches, scissors as well — anything with some metal.
3. Use food containers to keep your project's components together
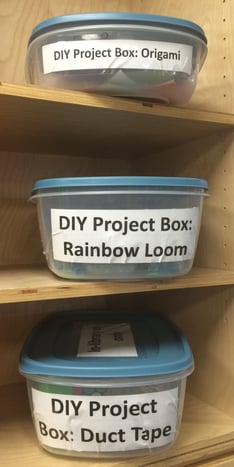
A simple way to store small components.
4. Build a simple dust containment box
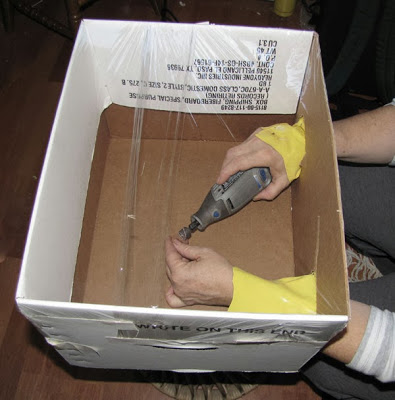
Using power tools can be really messy. Laura Bracken has a solution for that.
5. Keep every tool in its place with outlines
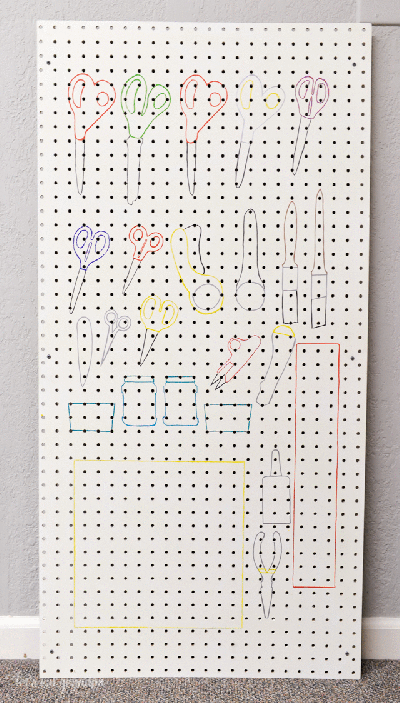
Just adding some outlines can make a huge difference in knowing where everything goes.
6. Save space with a fold-up worktable
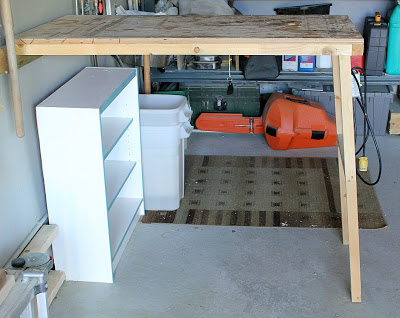
This is a great option if your maker space is small or if you don't intent to use the room as a maker space all the time. Learn more at Turtles and Tails.
7. Create an in-progress space
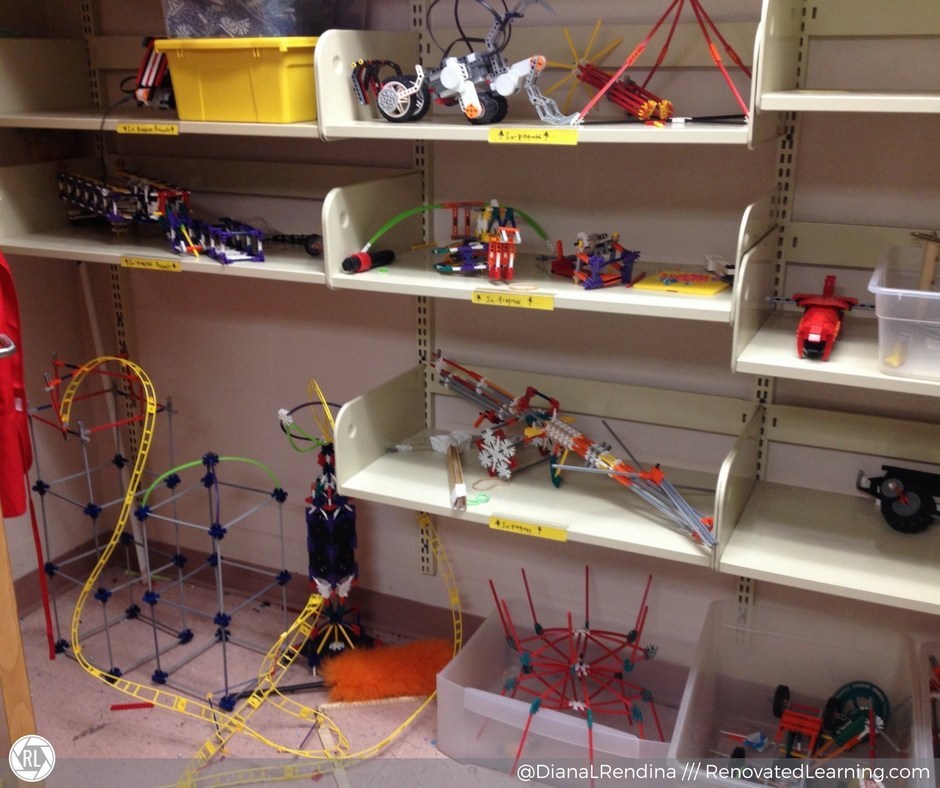
Allocating an area where students can put their projects that they aren't quite done with yet can help declutter the working space. Diana Rendina also recommends posting a schedule that says how frequently the space will be cleaned out, and asking students to label their projects with post-it notes.
8. Store your frequently-used supplies in a cart
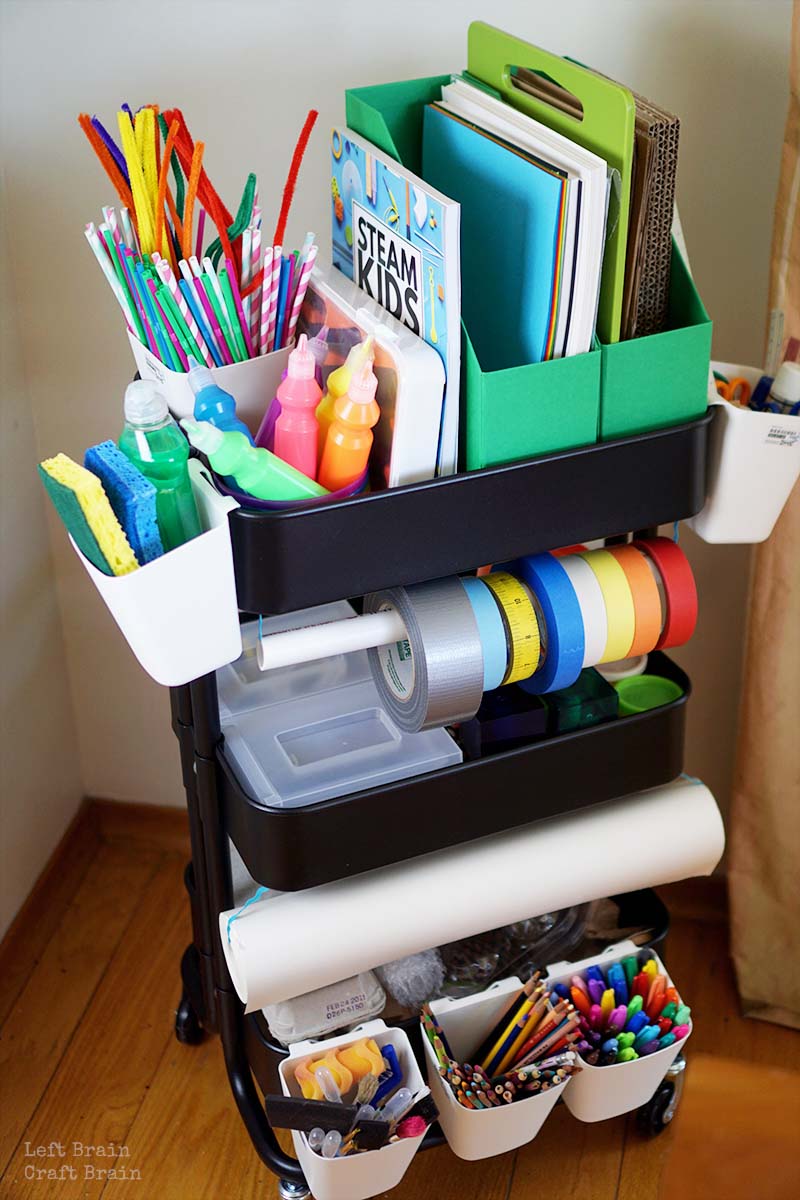
Building a project that requires lots of LEDs, jumper cables, and different sensors? Stock this cart up with all of them! The fact that it has wheels makes it easy to move them to whatever corner of the room you're working in.
9. Recycle gum containers to store screws and nails
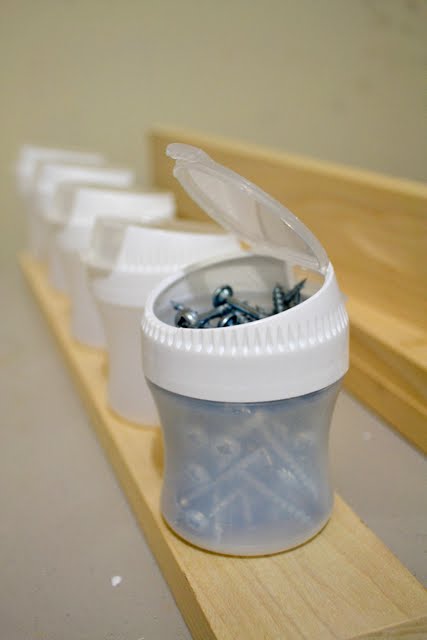
Or any small component that you can fit inside the containers.
10. Hold your tools with a popsicle maker tray
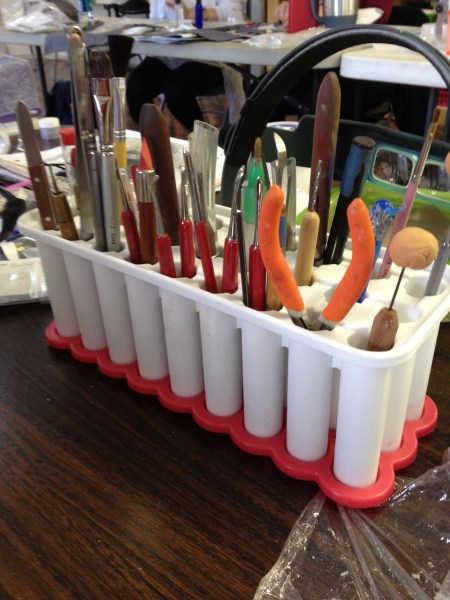
We're all about recycling and repurposing old objects so we think this idea is simply brilliant!
Do you have any other tips to keep your maker space clean? Let us know in the comment section bellow!