Give your pi-top or pi-topCEED a haunted feel this Halloween with this spooky jack-o’- lantern tutorial!
Before we get started, this is the boo-tiful equipment required to achieve the ghastliest effects:
- 5x yellow witches boil LEDs
- 1x blood red LED
- 6x 100 Ω reVolting resistors
- 1x pi-topPROTO (or breadboard)
- A few standard wires
- 1x acrylic slice (included with your pi-top or pi-topCEED)
- Access to a laser etcher (optional)
- 1x pi-top or pi-topCEED
So, let's get started by transforming our pi-topPROTO board into a magic dancing candle.
Step 1: Wire LEDs to your pi-topPROTO board

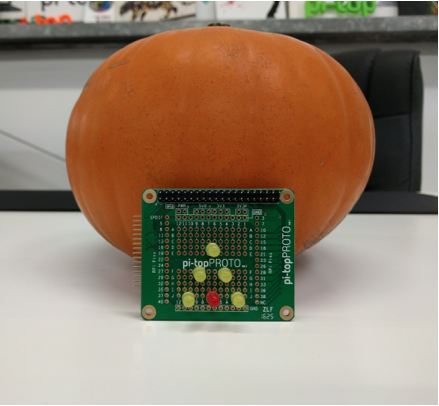
- The red LED should be wired to pin 22(GPIO 25) on your pi-topPROTO board
- The yellow LEDs should be wired to pins 11(GPIO 17), 13(GPIO 27), 16(GPIO 23). 29(GPIO 5), 32(GPIO 12)
The red and yellow lights will create a spook-tacular orange hue for your laser etched jack-o’- lantern acrylic slice!
Step 2: Wire LEDs to ground

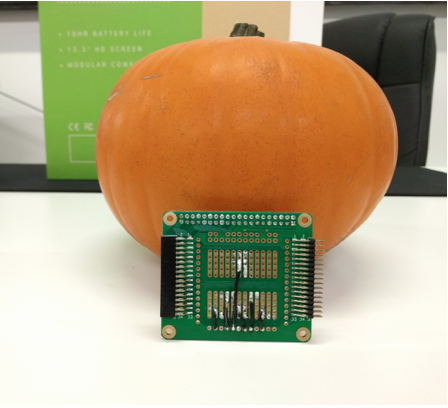
- Wire the cathode (negative pin) to the ground rail on your pi-topPROTO board, to keep things neat we have done this on the back of our pi-topPROTO board as seen in the image above!
Step 3: Use resistors to connect your LEDs to GPIO pins

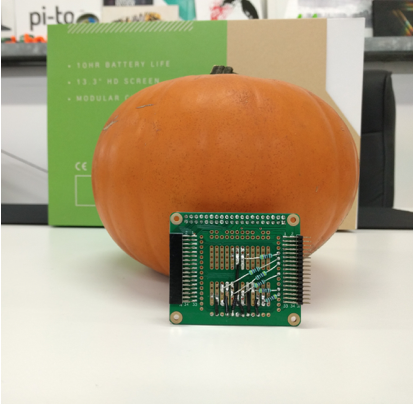
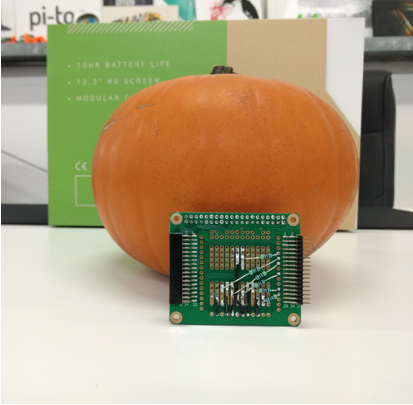
- Next, we need to wire the yellow LEDs to RPI pins 11, 13, 16, 29 and 32
- The red LED should be wired to pin RPI pin 22
- This will complete the full circuit
Now, we are almost there! Put the following Python code into the pi-topCODER editor and click run to test it:
import random
from time import sleep
from gpiozero import PWMLEDRED_LED = PWMLED(25)
YELLOW_LEDS = [
PWMLED(17),
PWMLED(23),
PWMLED(27),
PWMLED(5),
PWMLED(12)
]while True:
RED_LED.value = random.uniform(0, 0.5)for led in YELLOW_LEDS:
led.value = random.uniform(0, 0.5)sleep(random.uniform(0, 0.5))
The code uses randomised pulse width modulation (PWM) in order create a candle flicker effect!
Finally, we need to etch our spooky acrylic slice - the design can be downloaded in .dxf format (see below).
Download the dxf file here: halloween
Here is our ghastly haunted pi-top acrylic slice:

Eerie green halloween……. ;)
So, for the final effect. Let’s run our code again!
Here is your spooky phantom pumpkin finished project!

